Skip to content

cupcakes on the move

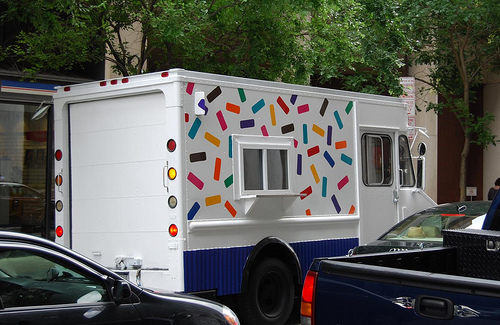
A new trend in sweets is hitting the road – literally. I’ve known about Curbside Cupcakes for awhile now. They make stops around the DC area and offer combinations such as Cookies & Cream and Key Lime. But just recently a friend of mine told me about Buttercream Philadelphia. I love this company because the owner explains how she got started and the fact that she is very modest and humble about her company. Maybe I should start looking into small delivery trucks…

useful tip tuesday: real BUTTERcream


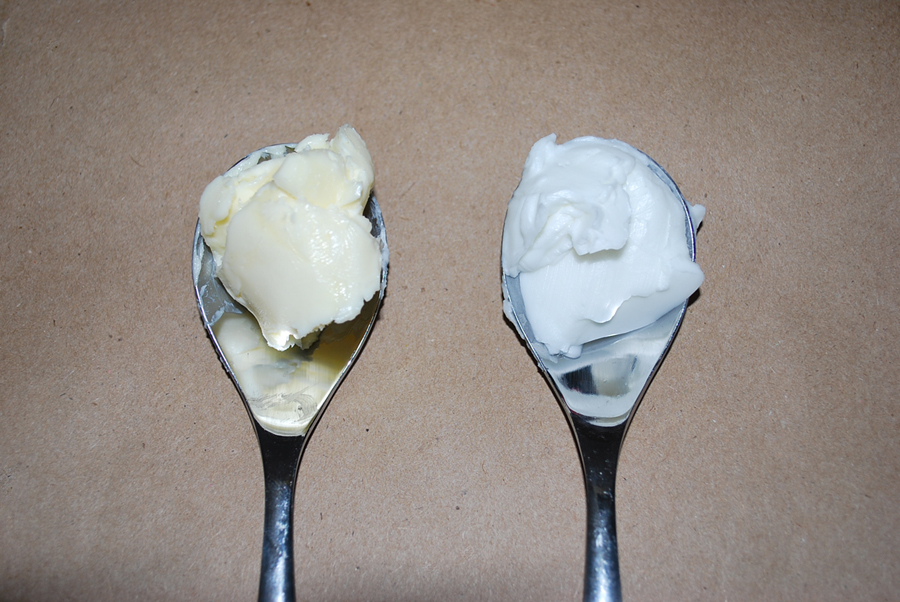
While mixing up a giant batch of my meringue buttercream, I started thinking about the color. My buttercream has a ivory/pale yellowish color. Every retail store’s buttercream is pure white. Butter is yellow – so why isn’t buttercream yellow?

Well this sort of goes back to my blog post about the mystery of grocery store whipped icing. If you didn’t know already, grocery store buttercream comes in a giant, commercial sized tub, already prepared. This is why they are so inexpensive! And in addition, they are non-dairy. Which means they contain NO butter.

Wikipedia defines buttercream as the combination of fat and sugar, with butter as the most common, traditional choice of fat. Well there are two kinds of fats used:

Butter

PROS: Traditionally used fat, delicate texture, superior flavor

CONS: Doesn’t hold up to heat well and color is yellow/off white

VEGETABLE FAT

PROS: Holds up to heat and it is WHITE! The most common veggie fat is Crisco but margarine can be used too

CONS: Crisco doesn’t taste like butter so butter flavoring must be added. In addition, it leaves a greasy film in your mouth and can raise health concerns – margarine is a polyunsaturated fat.

If you google “White Buttercream” all of the recipes call for Crisco. So in the end, it really depends on your preference! Some people can eat spoonfuls of American Buttercream all day. I prefer the real stuff if the need for bright white buttercream isn’t an issue.

The moral of the story is this: If you absolutely have to have bright white icing, then use Crisco. But if you want quality, tasty buttercream, use butter.

orders, orders, and more orders

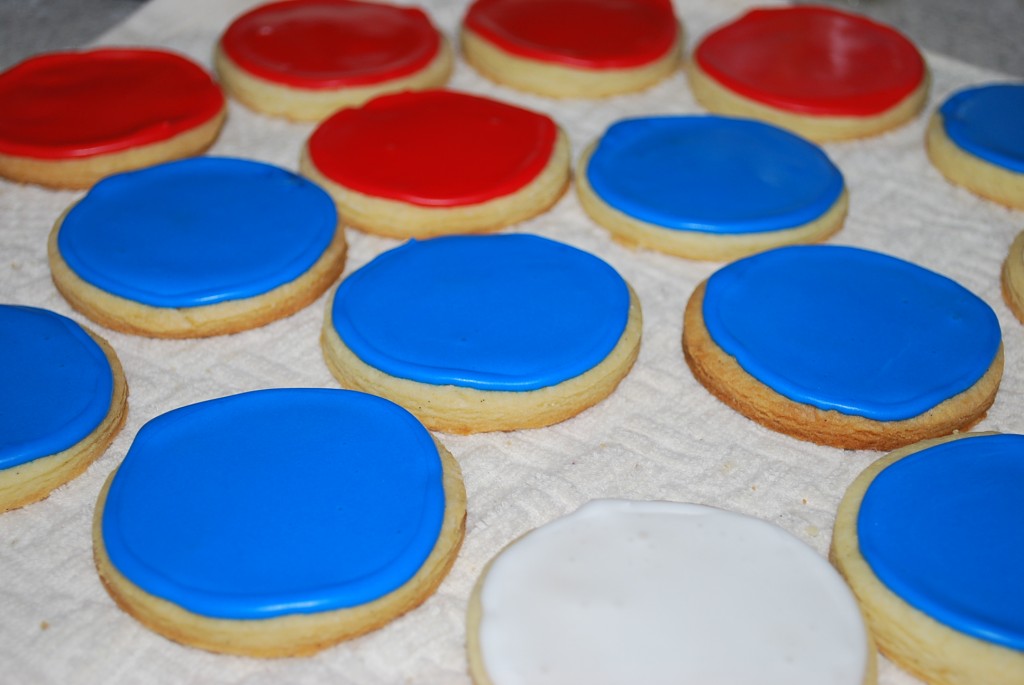
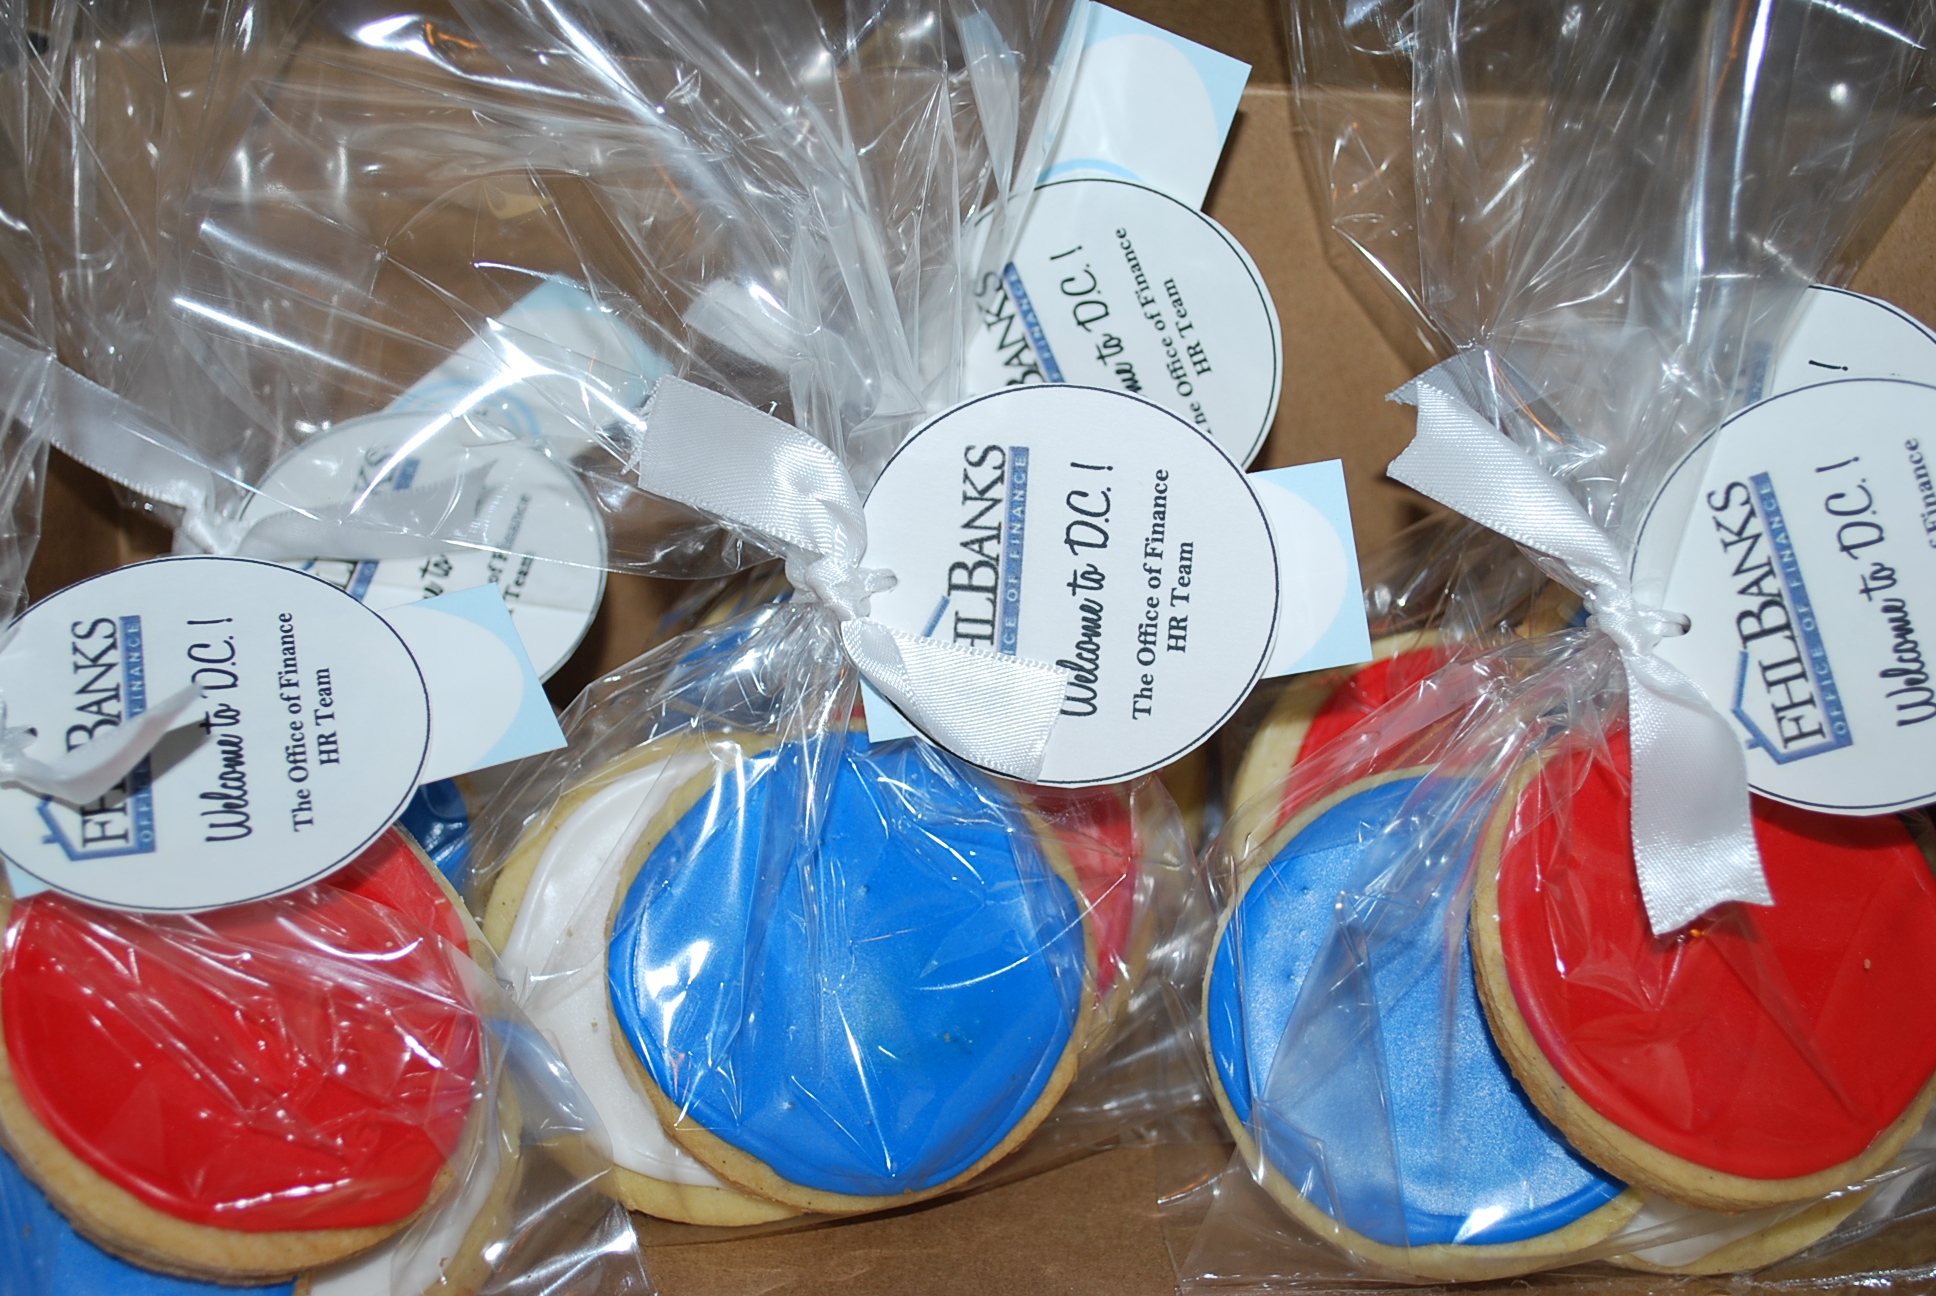
This last week was a very busy week for orders and it looks like the whole month of May is following suit. In addition to my enormous 2 – 0 cake, I also had an order for some cookie bags for an HR event. Since the bags were for some out-of-towners, my intention was to welcome them to the D.C area. So they would obviously incorporate red, white and blue! I decided to stick with simple round cookies and ice them in the three patriotic colors. They looked great packaged up with a white bow! They were vanilla bean sugar cookies with vanilla almond royal icing. Yum!

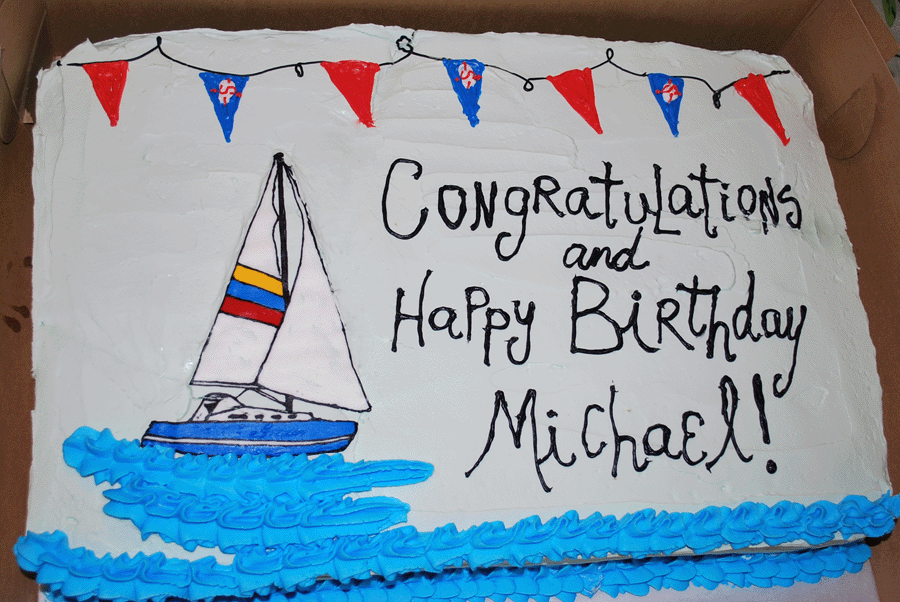
Following my cookie order, I was honored to make a birthday/retirement cake for my second dad! Since he is very fond of sailing and the event was held at the local marina club house, I decided to create a sailboat theme and incorporate the marina’s burgees as well! For the sailboat, I used the buttercream transfer method. Since the design was somewhat intricate, I lost a little of the outline in the transfer process, but I just corrected it with the extra buttercream I had left over. The burgees were done by hand with colored buttercream directly on the cake.

how to: a basic shaped cake

If you asked me to do a shaped cake a year ago… I wouldn’t have agreed until I found a shaped cake pan which, as you can imagine, can be quite limiting. If you’ve ever watched Ace of Cakes or Cake Boss, they stack layers of cake and frosting and then use their giant cake knives to carve off pieces of cake to achieve the end result (think Edward Scissor Hands and some greenery). Granted most of those cake’s are 3D, you can use the same technique to create 2D cakes. For example – my cactus and chili cakes and my 20 cake.

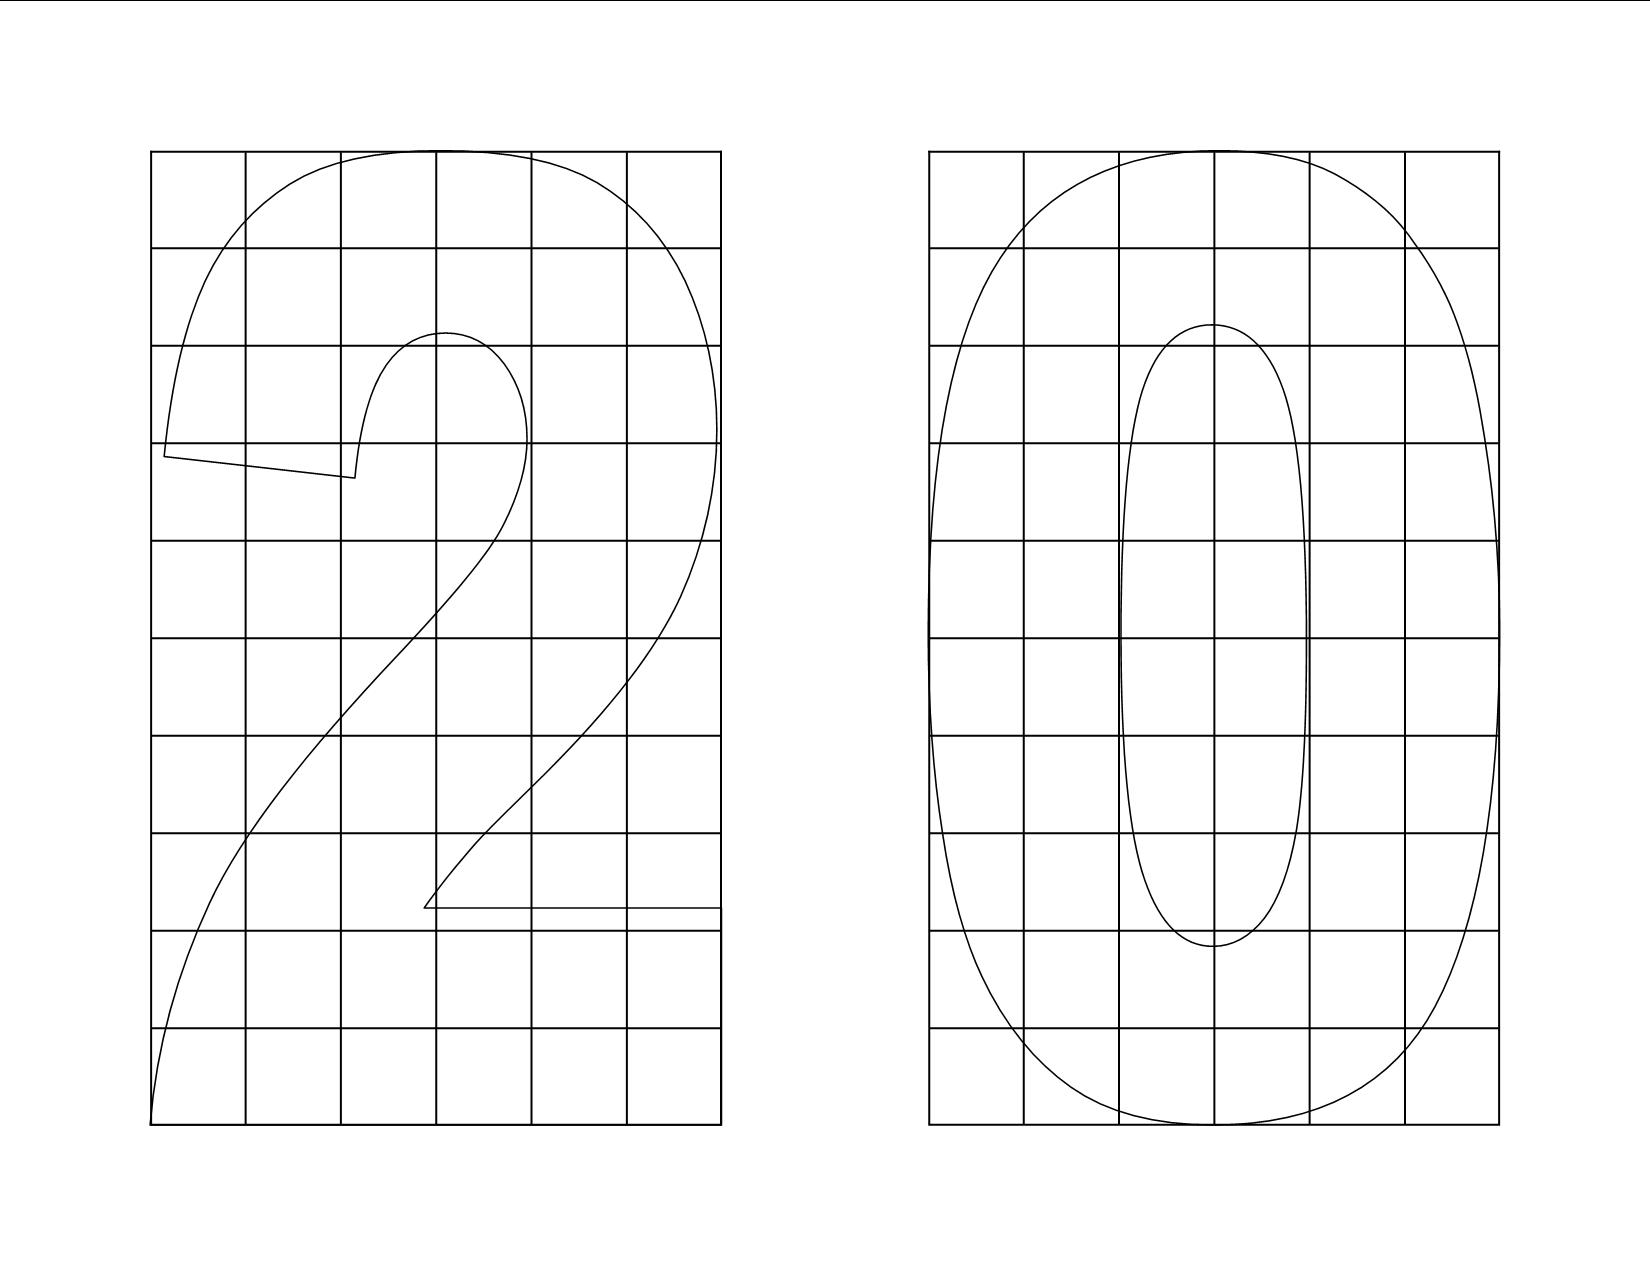
First – a little planning is key. You start with the number of people the cake must serve. A half sheet cake serves 60 people. But if you are carving a shape, you will obviously have less than 60 servings. I’m sure the pros have an easier method, or maybe they just make a giant cake that they are sure will serve everyone and then some. Since I’m math-oriented I create a grid of my cake and draw the shape on top, then count the amount of servings and plan accordingly. Here is my plan for the 20 cake:

The 60 servings is based on one layer of cake. As you increase the number of layers, the servings get smaller (and taller) and therefore the total number increases. I’ve found that a half sheet cake with two layers will feed approximately 75 people. Here I count about 75 servings which is what I was shooting for.

For each cake here, I start by making 2 sheet cakes. Once cooled, I carve the shapes out. I usually free-hand it, but you can cut the shapes out of parchment and use that as a stencil. Lastly, I covered them in buttercream and decorated as I would any layered cake!

Check out the original post here!

20 years of service

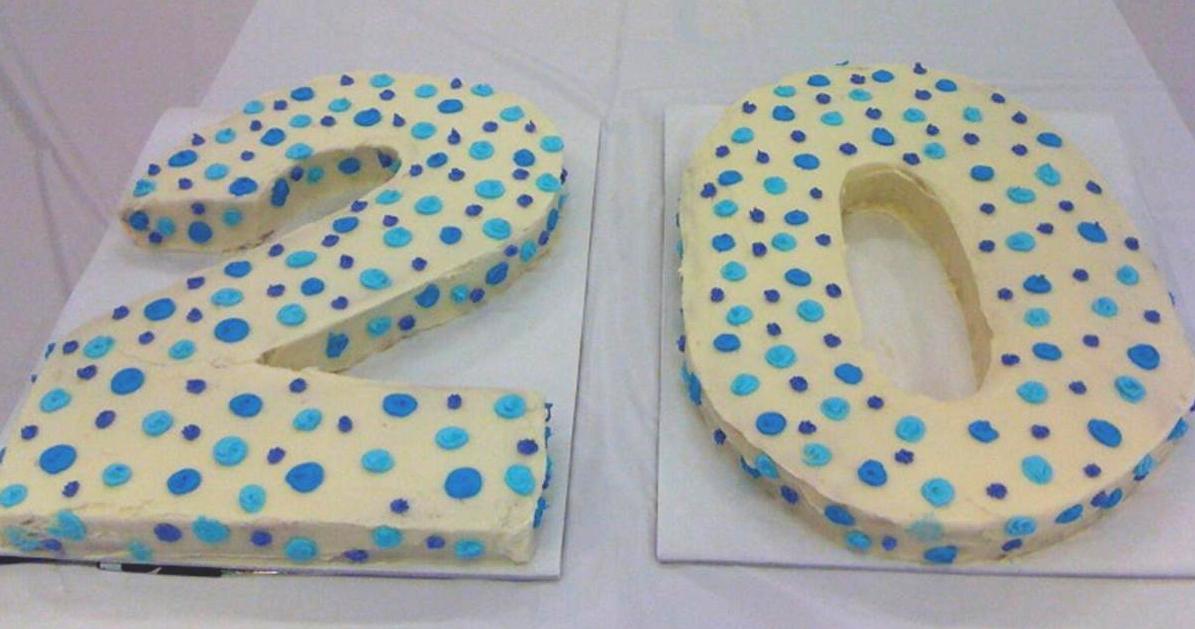
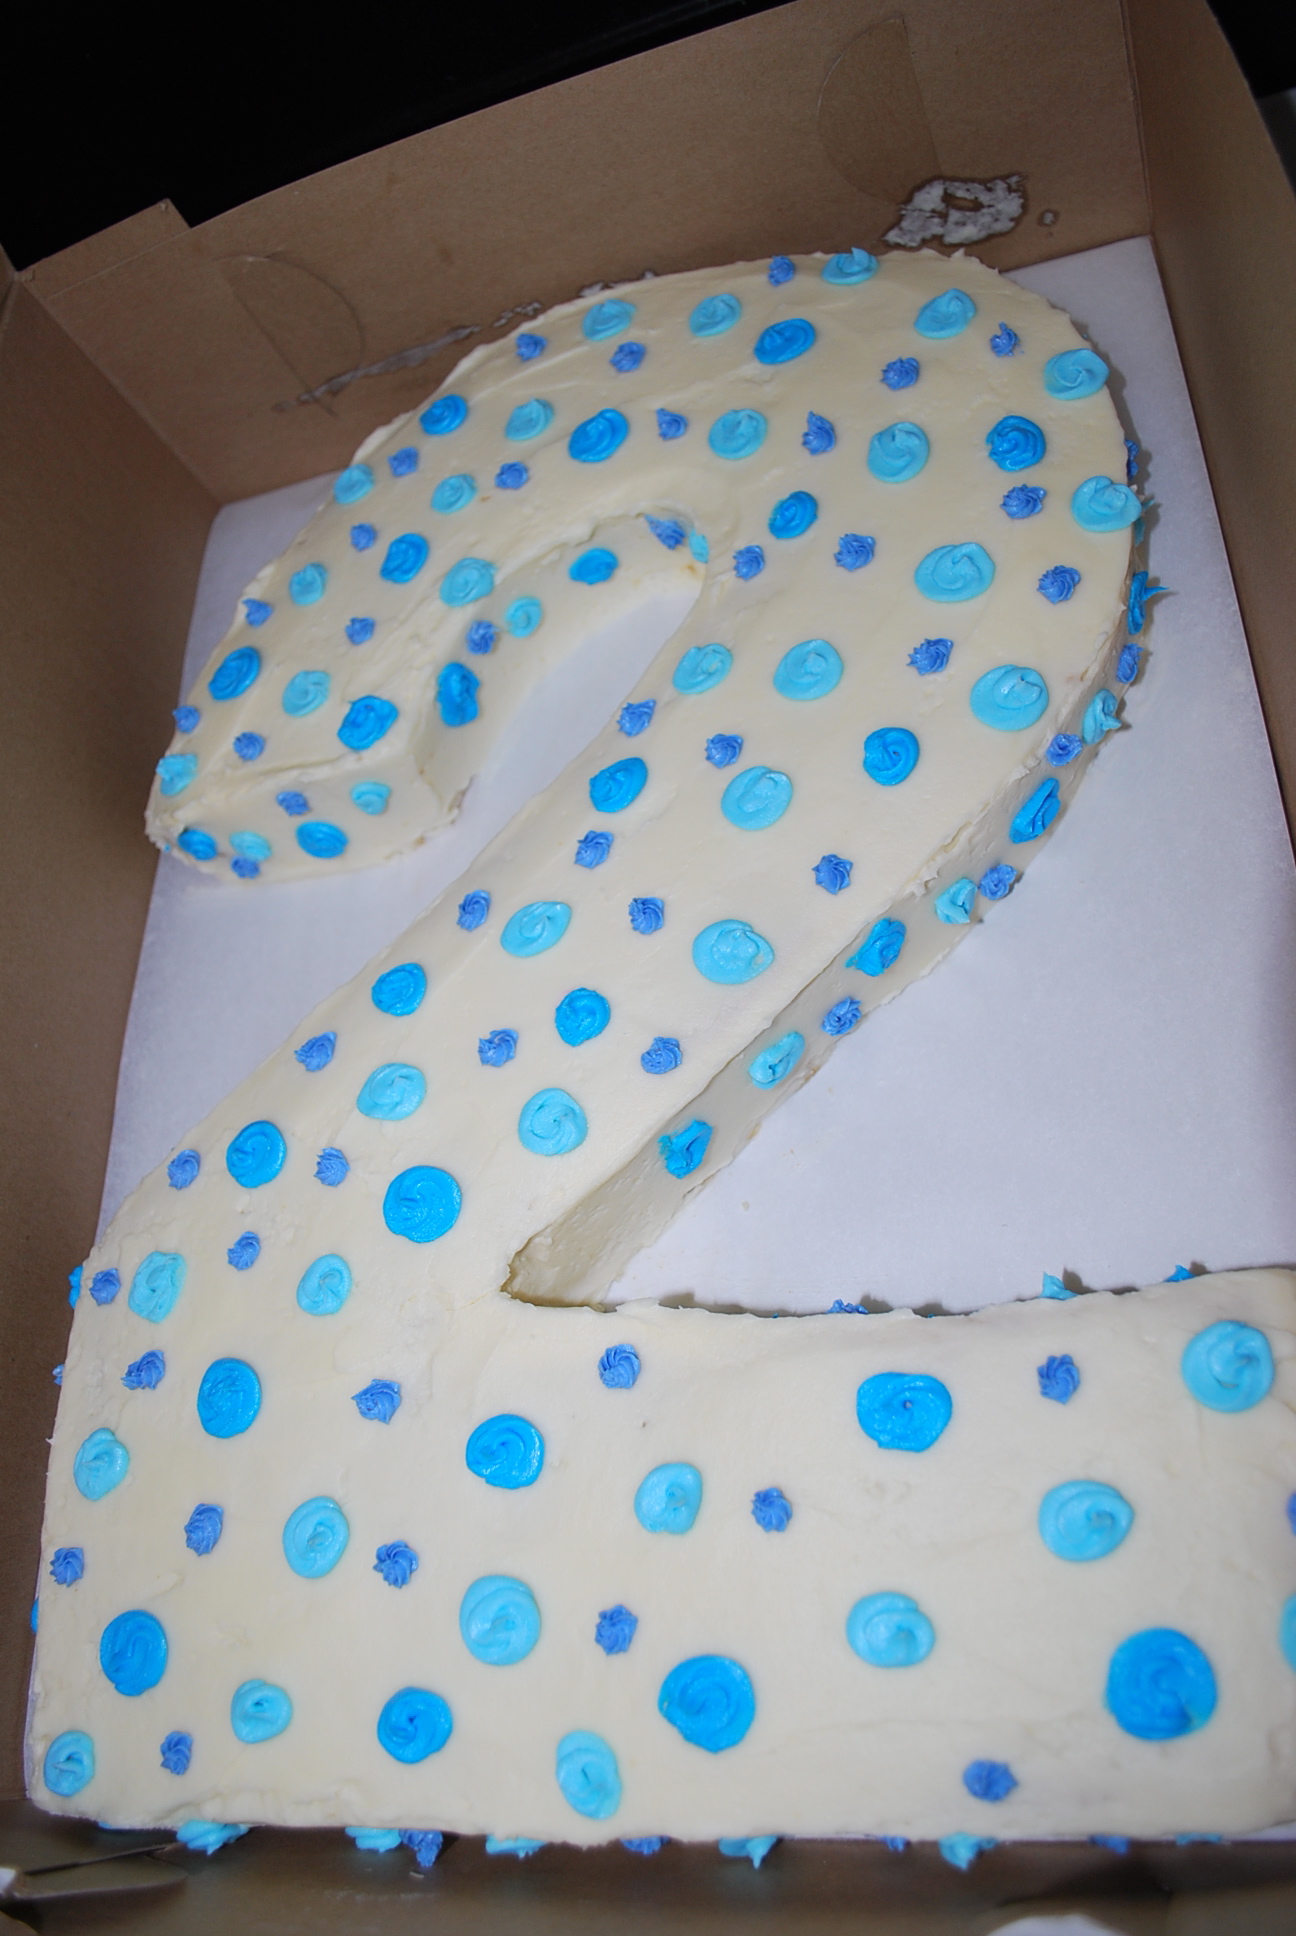
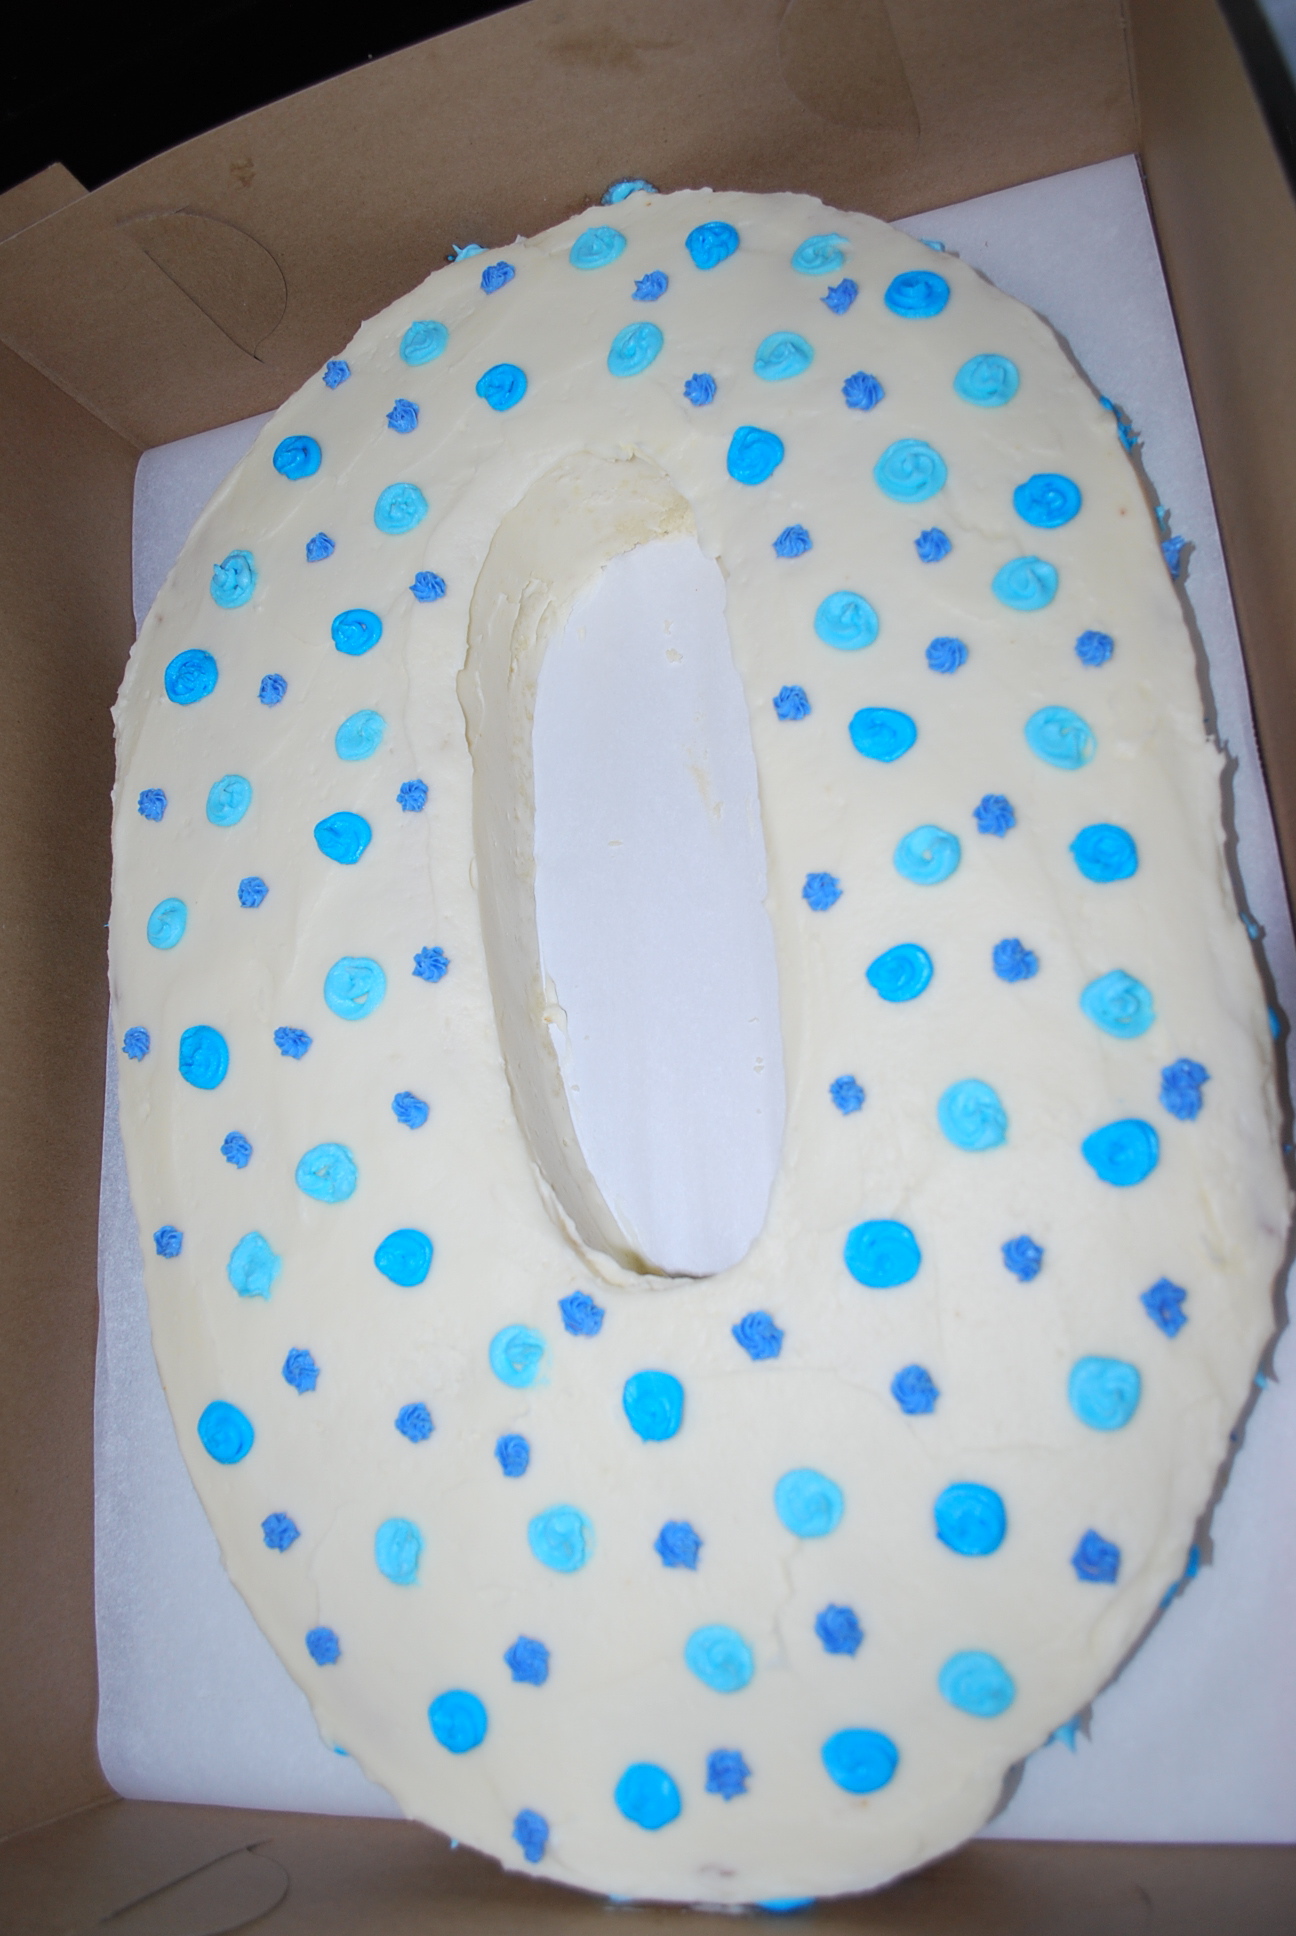
My company rewards those with several years of service with a department lunch and an office-wide cake party. In honor of a co-workers 20th anniversary, a shaped cake was suggested. With a cactus and a chili behind me, I decided this would be a great idea! I made a shaped “2” and a “0” from 2 1/2 sheet cakes. Since the honoree prefers vanilla, I used my classic vanilla cake recipe and my vanilla meringue buttercream. I finished the cakes off with blue and purple dots! I will post a tutorial later on shaped cakes!

useful tip tuesday: make your own vanilla

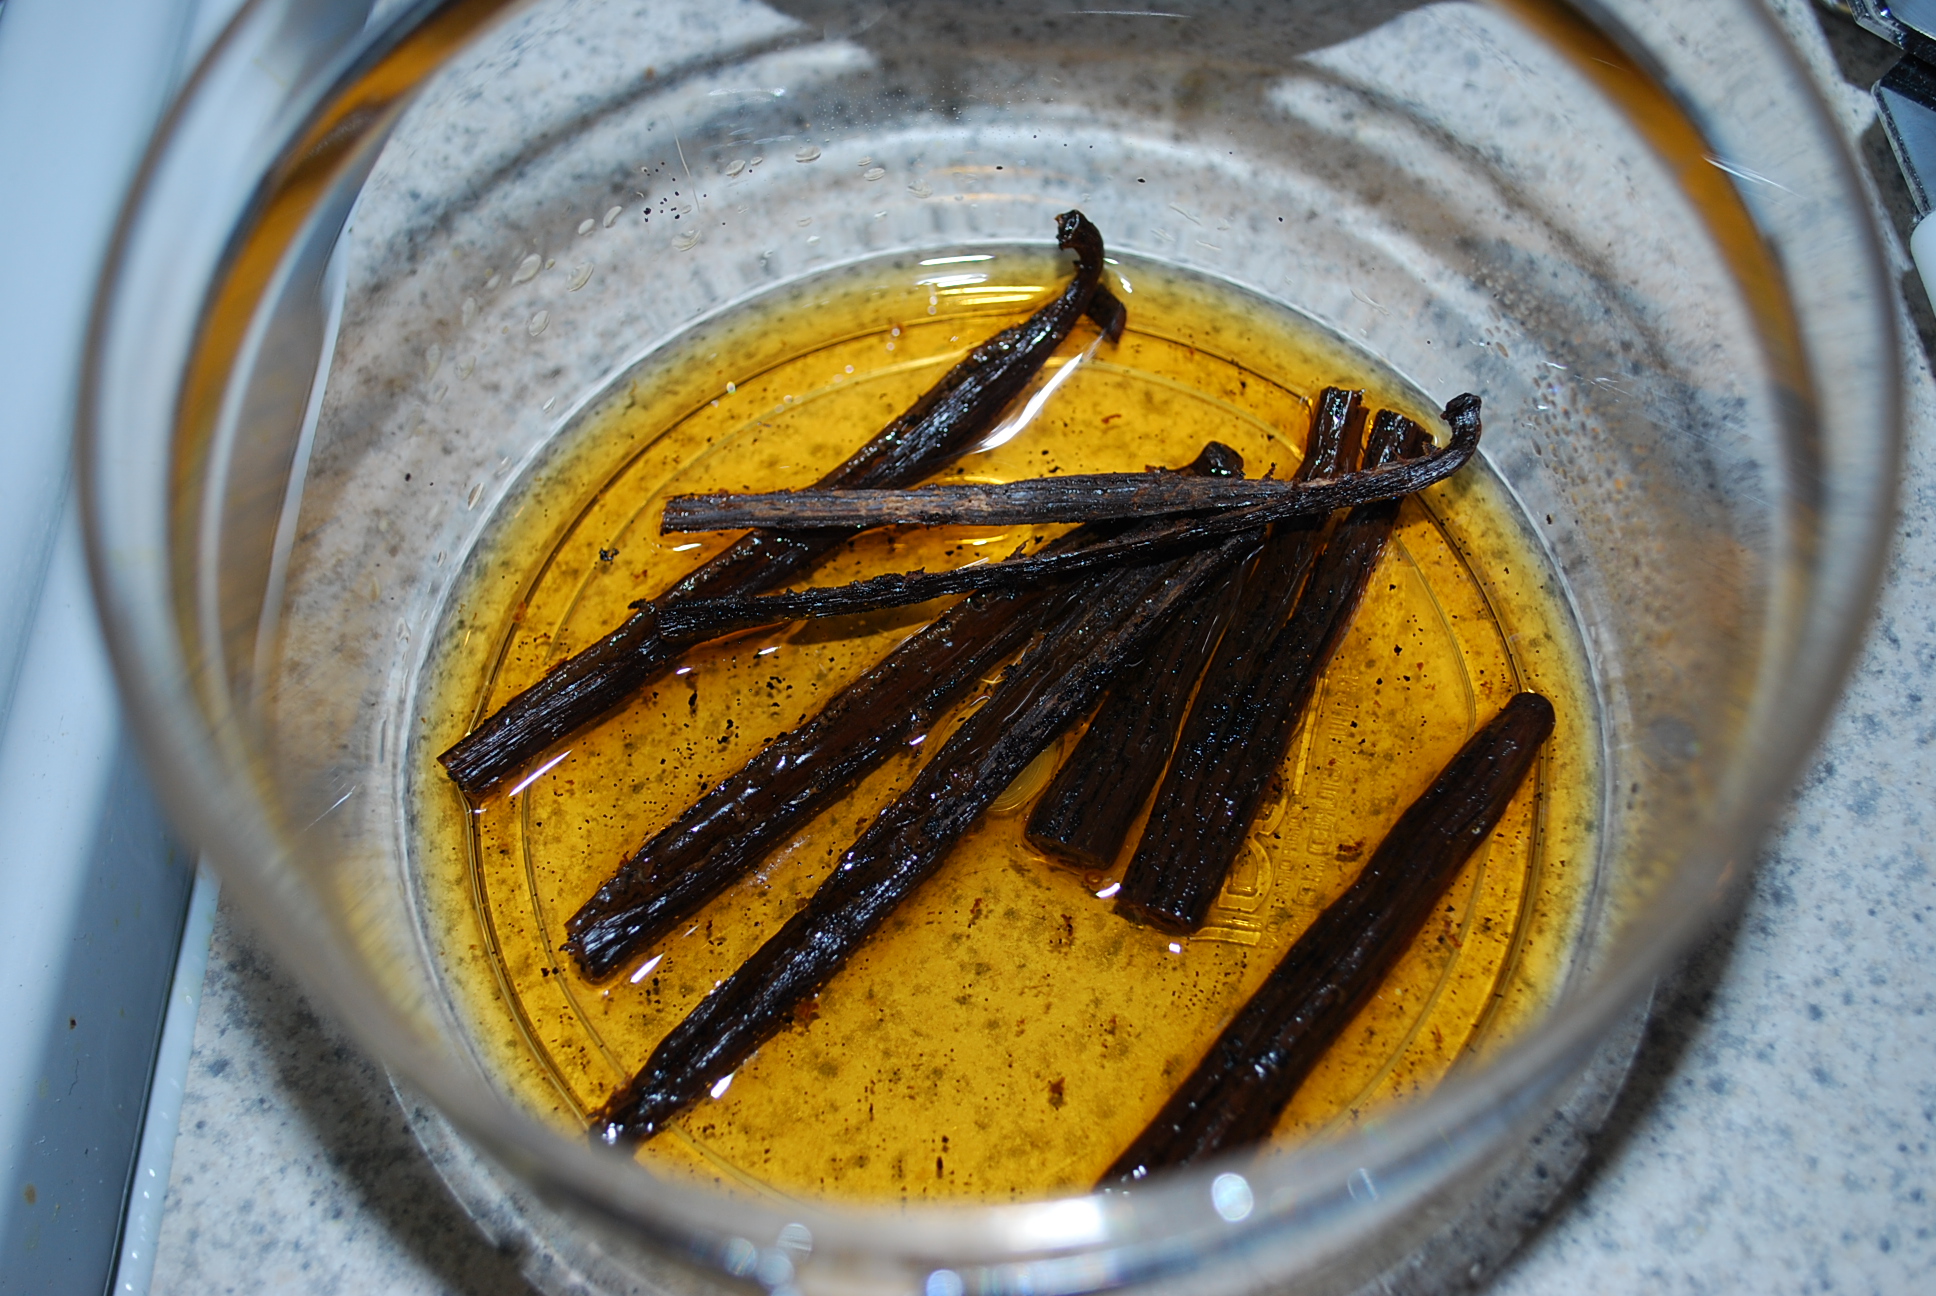
I’m starting to use more and more vanilla beans in my recipes that call for vanilla extract. As I’ve mentioned in prior posts, the flavor difference is pretty amazing. After I scrape my tiny little beans out of the shell and dump them into my mixer, I feel bad throwing away the remains. I’ve read where you can use them to make vanilla sugar, flavor drinks, etc. Instead, I put about 2 oz of vodka into an air tight container and this is where I add my left over shells! Every so often, you want to shake it up so that the shells stay covered in the vodka. Eventually, depending on the number of shells, you’ll end up with a dark extract that is ready to use!

I’ve read that the shelf life for vanilla is between 4 and 5 years, but I wouldn’t keep your home made vanilla for over a year. You can also add the beans to speed up the process. Here is a great picture tutorial by Kitchen Project. I buy my vanilla beans at Penzey’s.

doggie delight birthday muffins

I’m very fond of dogs – that’s just a common fact about me. Even more fond of dachshunds, but I love all dogs. So you can imagine my excitement when I was asked to make some dog-friendly birthday treats. After researching a few recipes, I decided to try some PB Doggie Delights. How could a dog resist a peanut buttery cupcake?

You’ll need:

1 cup white or whole wheat flour
1 tsp baking soda
1/4 cup peanut butter
1/4 cup vegetable oil
1 tsp vanilla
1/3 cup honey
1 egg
1 cup shredded carrots

Preheat your oven to 350 and grease a standard cupcake pan (grease them really good – you don’t want these suckers sticking to your pan). You could certainly use a mini cupcake pan if you have smaller dogs to treat!

Mix together the flour and baking soda. Then add the wet ingredients including the shredded carrots. Stir well, the batter will be very thick, similar to muffin batter. Divide the batter into the cupcake pan, each cupcake should be about 1/2 – 2/3 full. Bake for 20 – 30 minutes, or until done! Watch them closely because the sides can start to brown faster than the tops. Cool completely before icing.

For the icing:

2/3 cup cottage cheese
1/3 cup fat free cream cheese

Blend cottage cheese in a blender until creamy. Stir in the softened cream cheese. Then spread or pipe on the doggie muffins. Optional: Garnish with your favorite dog treat! I used beggin’ strips and chicken strips!

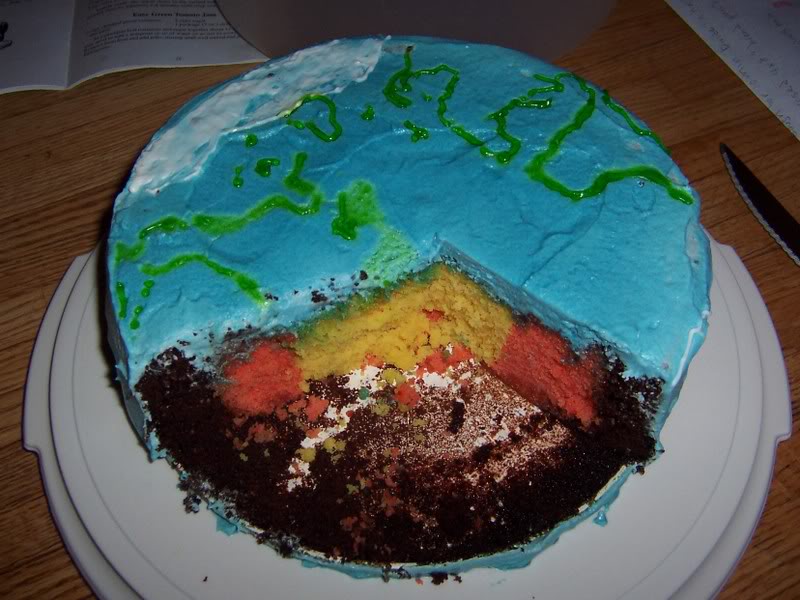
happy earth day

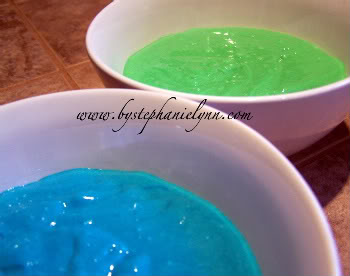
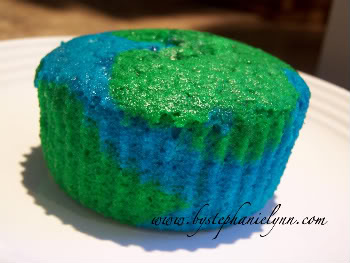
What better way to celebrate Earth Day than to make cupcakes! Head over to Stephanie’s blog to find out how to color and combine cake batter to make sweets that look like our planet.

And then here you can find a “geologically correct” Earth Day Cake!

german chocolate cake

This past Friday was my father’s birthday and we traveled home to visit so I obviously made a cake. He has two favorites – German Chocolate Cake and Chocolate Cake with Aunt Ninny’s White Icing. Aunt Ninny’s White Icing is my great aunt’s white icing and it is A-MAZ-ING. But I decided to try out a new German Chocolate recipe. Not too long ago, Bobby Flay threw down with Aliyyah Baylor of Make My Cake in a German Chocolate Cake competition. Her recipe was posted on the Food Network site by a viewer and had great reviews so I decided to try it out!

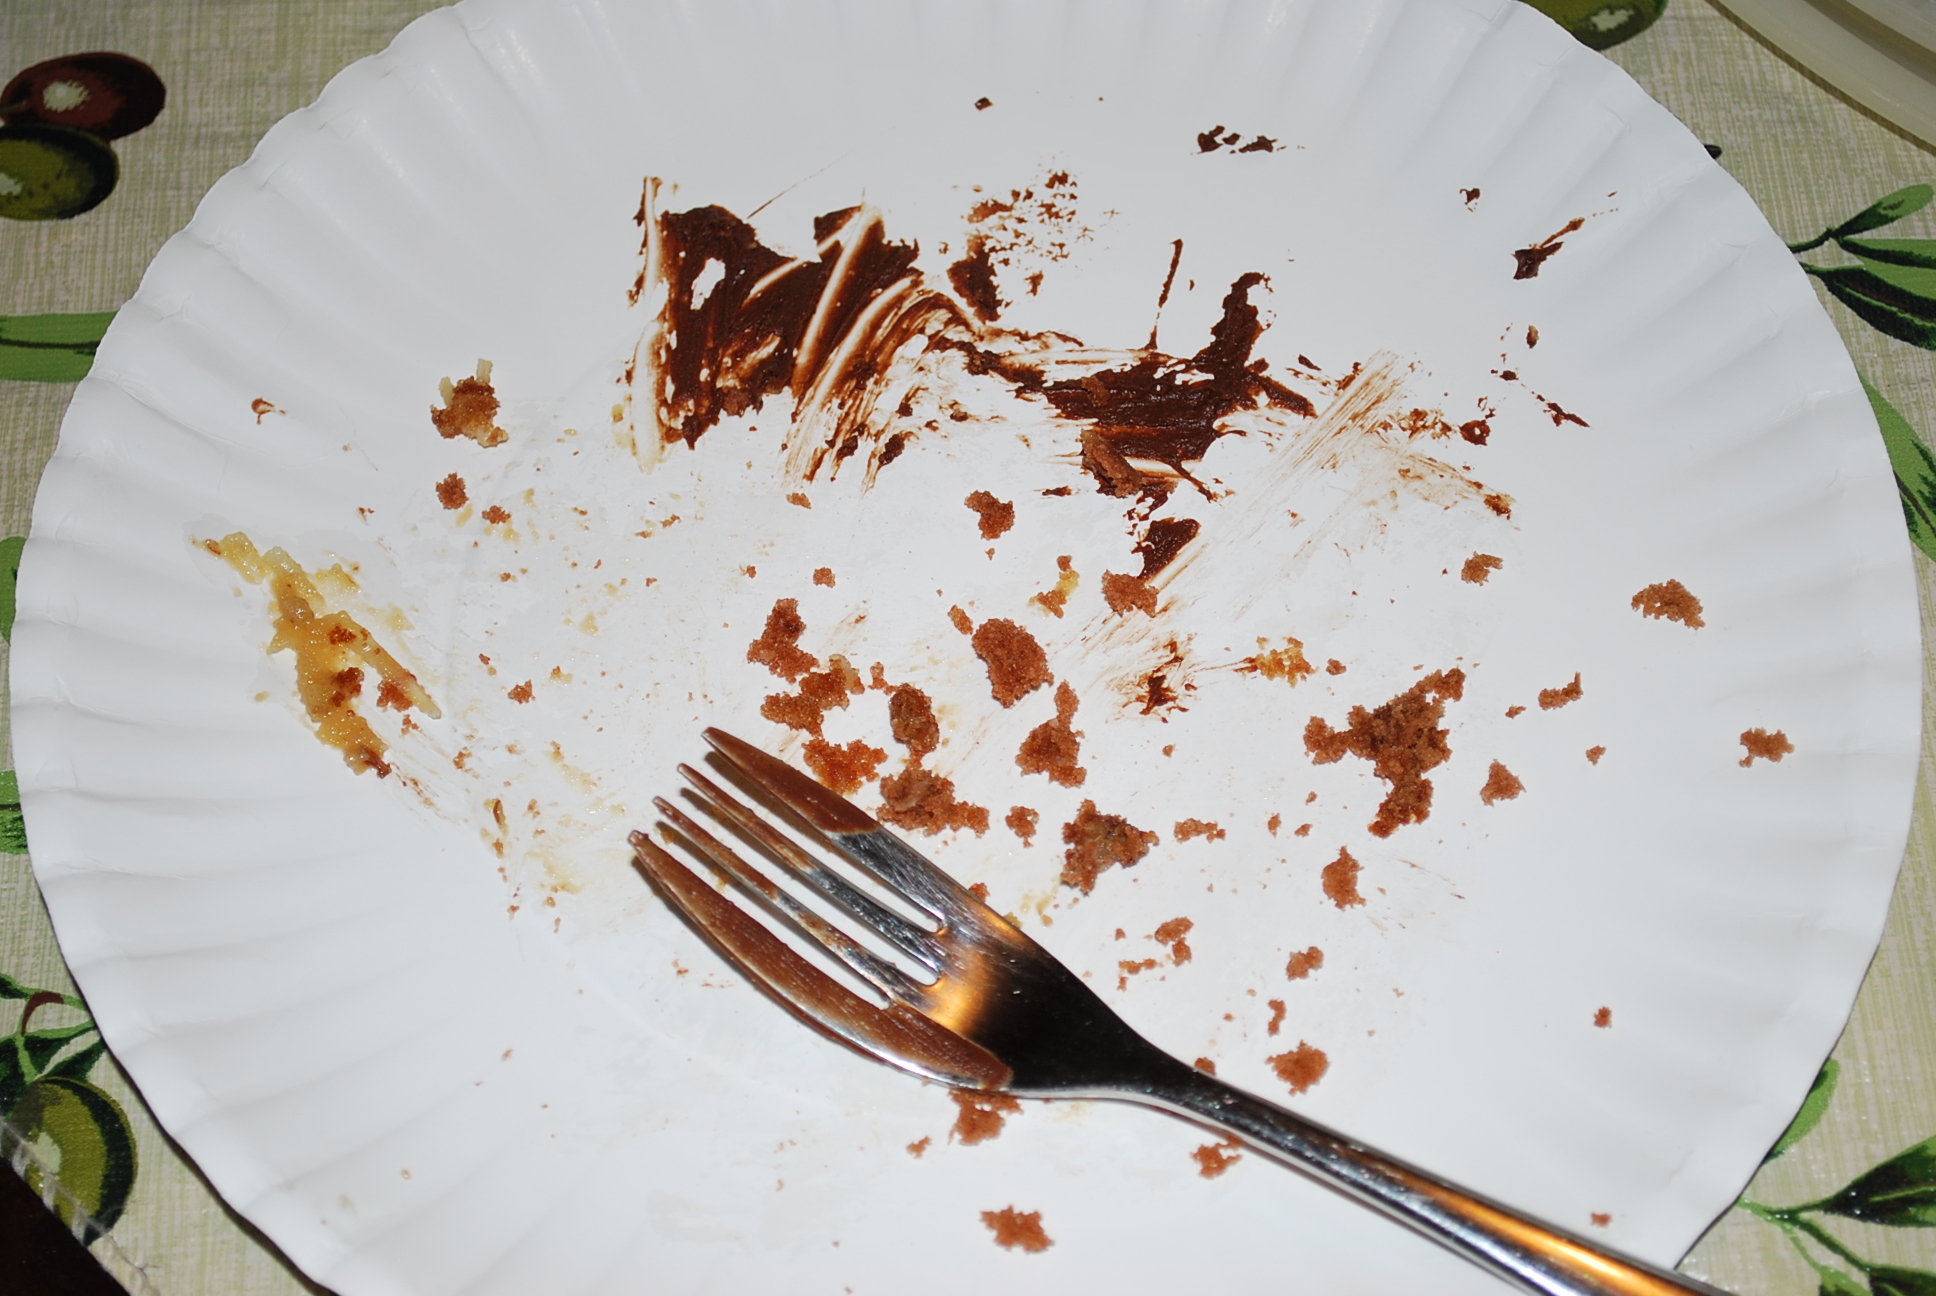
The verdict: Delicious!! The moist, fall apart cake was very light and airy, yet very flavorful. The pecan-coconut filling was also very tasty. Here is the recipe so you can try it!
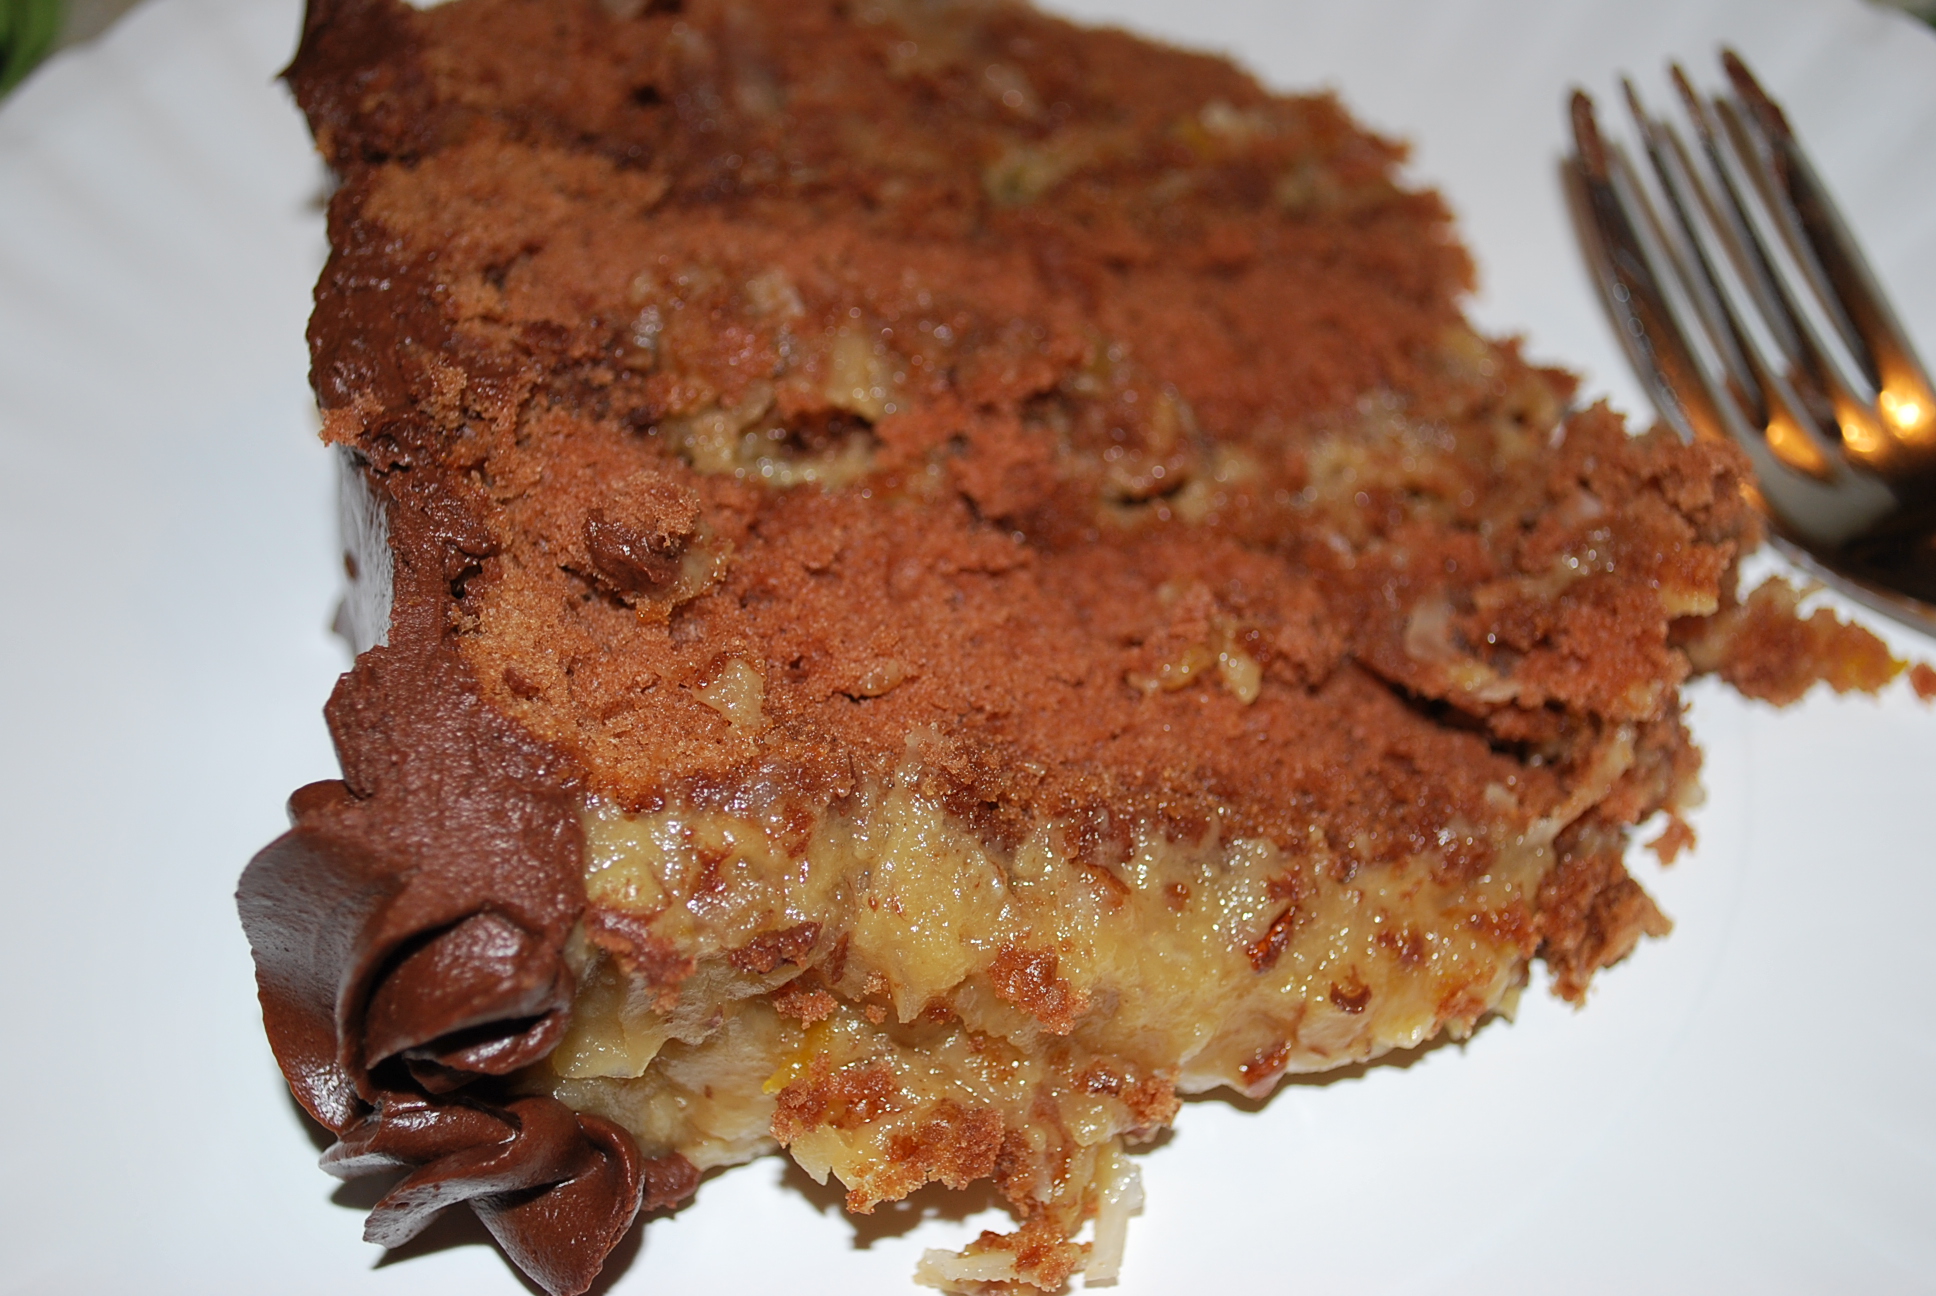
Ingredients

  • 4 ounces baker’s chocolate (I used Baker’s German Sweet Chocolate)
  • 1/2 cup boiling water
  • 2 cups cake flour (I used 2 1/3 cups of cake flour)
  • 1 teaspoon baking soda
  • 1/2 teaspoon salt
  • 1/2 pound unsalted butter, room temperature
  • 1 teaspoon pure vanilla extract
  • 1 1/2 cups granulated sugar
  • 1/2 cup brown sugar
  • 4 eggs, separated
  • 1 cup buttermilk
  • Favorite chocolate frosting, for the sides (I used Whipped German Chocolate Ganache)

Directions

In a microwave safe bowl, pour the boiling water over the chopped chocolate. Stir until smooth and set aside. In a separate bowl, sift together the cake flour, baking soda and salt. Set aside.

Preheat the oven to 350 degrees F.

In the bowl of a stand mixer, cream together the butter, vanilla extract, granulated sugar and brown sugar until light and fluffy. Scrape down the sides of the bowl. Add egg yolks one at a time, beating well after each addition. Blend in the melted chocolate.  Add the flour mixture and buttermilk, alternating, until just combined.

Add the egg whites to a small bowl and beat with an egg beater until stiff peaks form. Gently fold the whites into the batter until well incorporated.

Pour the batter evenly into 2 (9-inch) cake pans or 2 (12 capacity) cupcake tins. I poured it into 3 (8-inch pans) since I wanted 3 layers. Bake until a toothpick inserted into the center of the cake comes out clean, about 30 minutes for the larger cakes and 15 to 20 for the cupcakes. Remove from the oven to a cooling rack and allow to cool completely before filling and frosting.

For the Coconut Pecan Filling:

  • 1 1/2 cups evaporated milk
  • 5 egg yolks, slightly beaten
  • 1 cup granulated sugar
  • 1 cup brown sugar
  • 2 teaspoons vanilla extract
  • 1 cup butter
  • 2 1/2 cups flaked coconut
  • 2 cups toasted pecans (I actually only used 1 1/3 cups)

Combine the evaporated milk, slightly beaten egg yolks, granulated sugar, brown sugar, vanilla and butter in a large saucepan or heavy pot over low heat. When the butter melts, raise the heat to medium, stirring constantly. The mixture will thicken after 10 to 12 minutes. Remove from the heat. Add the coconut and pecans and cool. It will continure to thicken as it cools.

To Assemble the German Chocolate Cake:

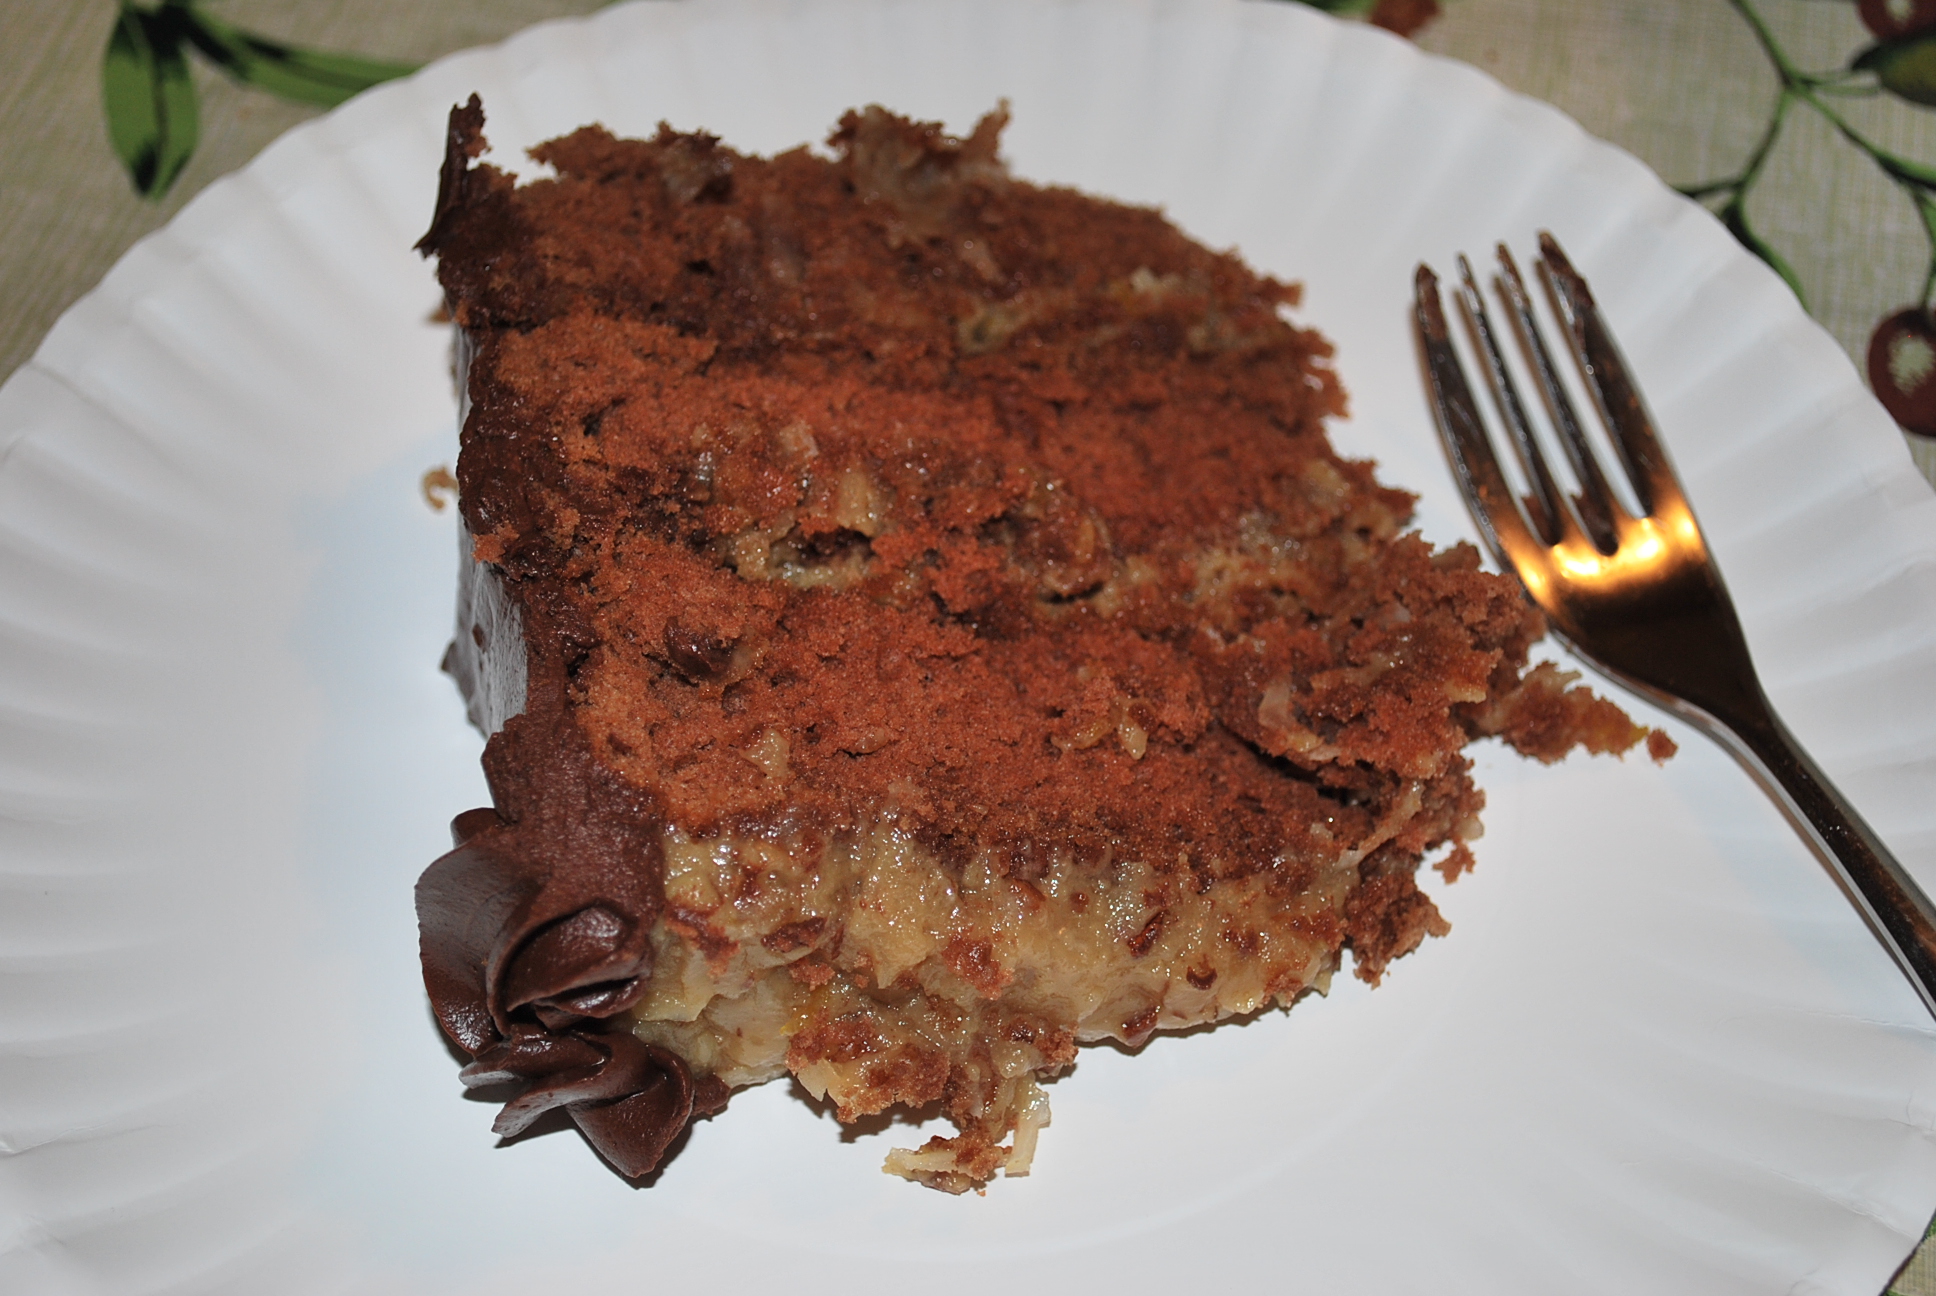
Put a cake layer on top of a serving plate and top with a generous layer of the caramel/pecan filling. Cover the filling with another cake layer of and spread with the filling. Repeat if you have more than 2 layers. `Top with the final layer. You can add more filling on top as I did – smoothing out and leaving about 1 cm around the edges, like this:

Next, ice the sides with chocolate icing or ganache. Then, with your favorite piping tip, decorate the perimeter of the top, blending the sides and sealing in the filling. Or you can just cover the entire cake with the delicious chocolate ganache!

Ganache is easy to make. For Dark Chocolate, the chocolate to cream ratio is 2:1. For milk, german or white, the ratio is 2.5:1. Heat your heavy whipping cream until it JUST comes to a boil and pour it over your chopped chocolate. Let it sit for 5 minutes and then whisk until all of the chocolate melts. Let it sit aside and it will thicken to a spreading consistency as it cools. For a slideshow tutorial, visit Serious Eats.
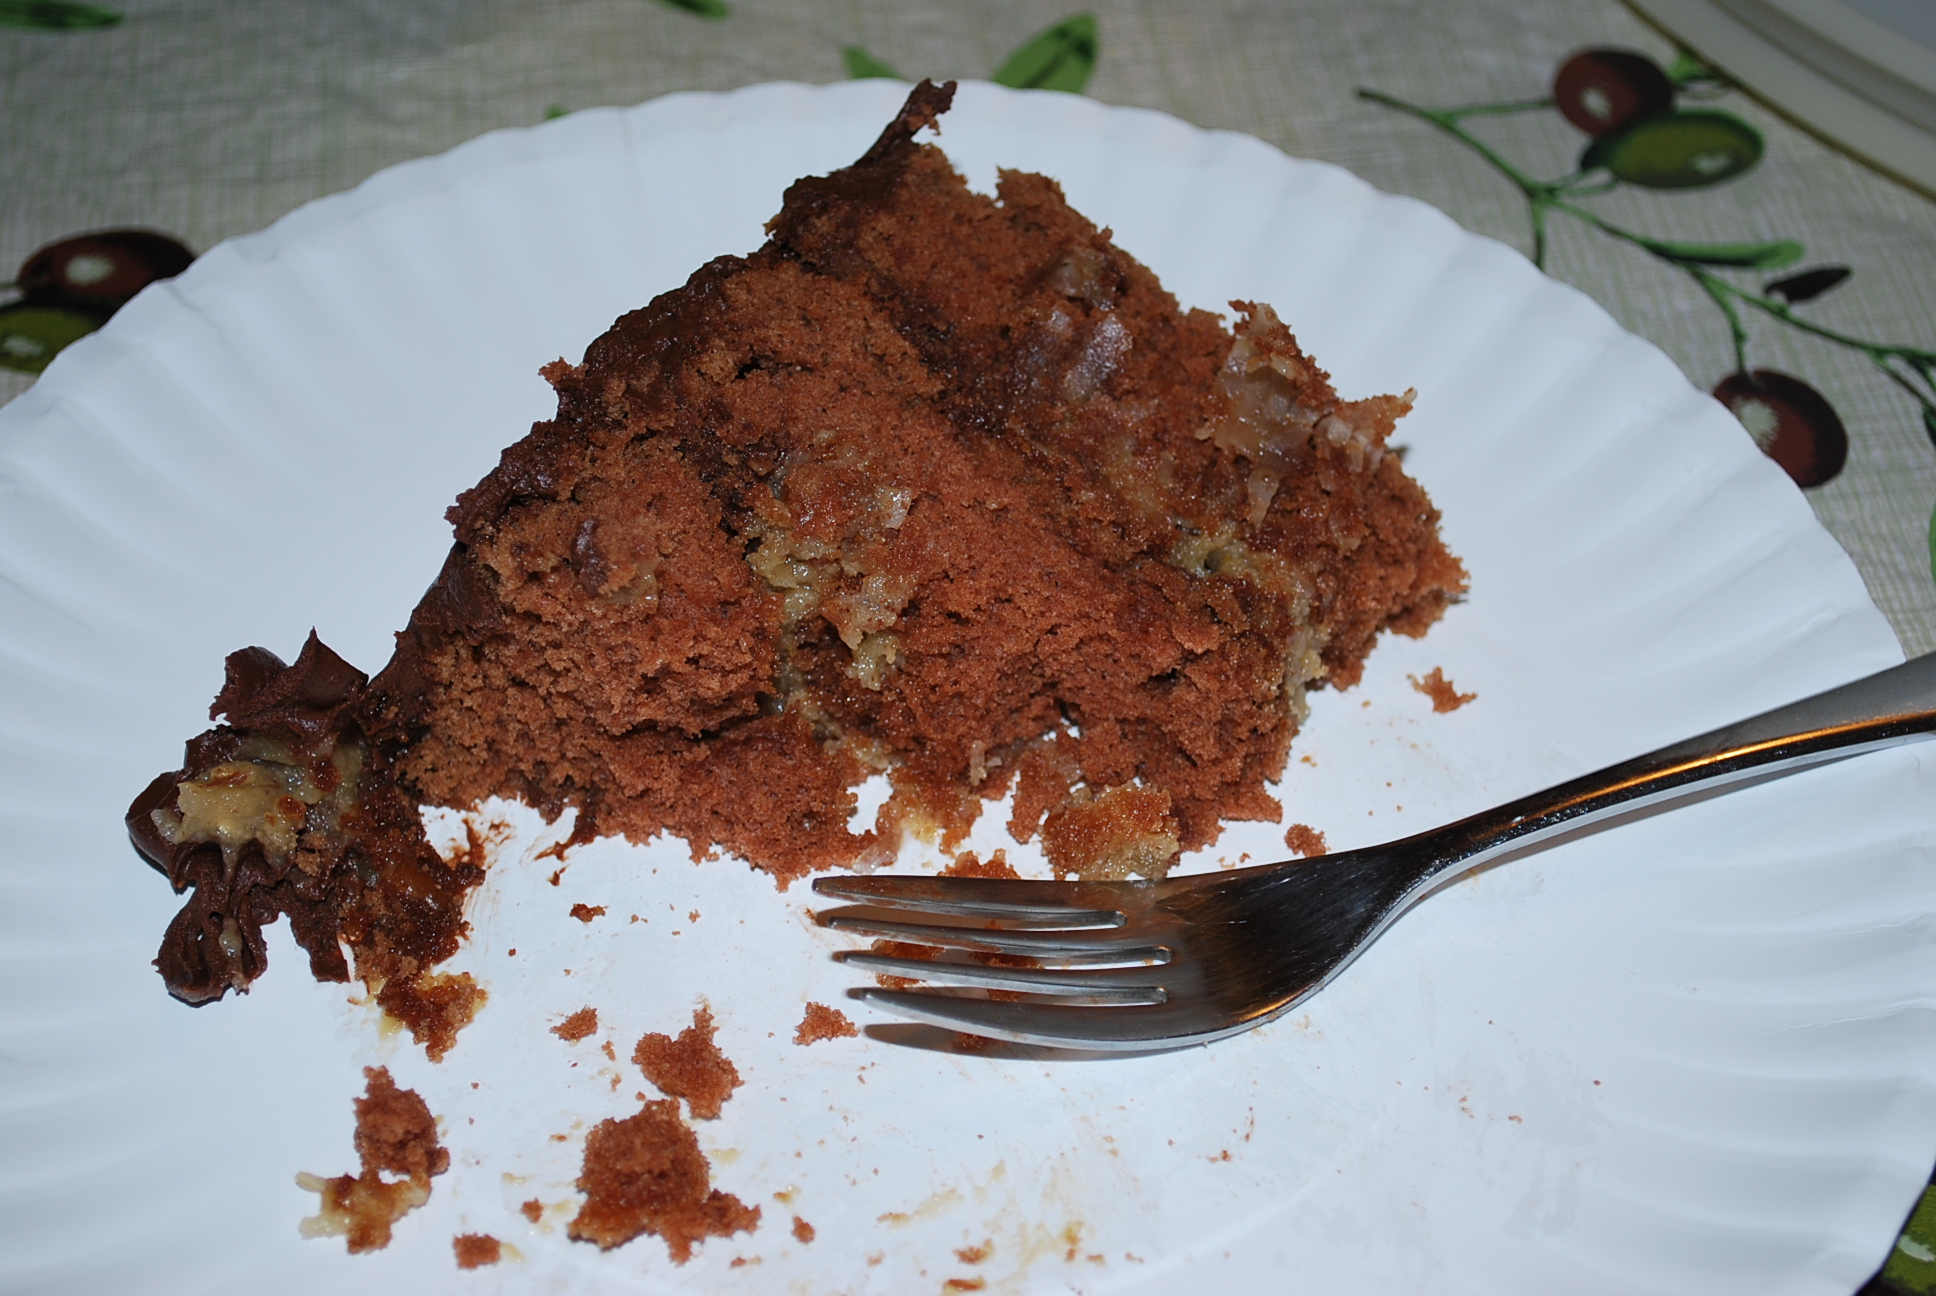
Here’s an interesting tid-bit according to Wikipedia:

Contrary to popular belief, this cake did not originate in Germany. Instead, the name derives from Baker’s German’s Sweet Chocolate, which was created in 1852 by an Englishman named Samuel German for the Baker’s Chocolate brand. The original recipe for “German’s Chocolate Cake” was sent by a Dallas, Texas homemaker to a local newspaper in 1957. The cake became quite popular and General Foods — which owned the brand at the time — distributed the recipe to other newspapers in the country and sales of Baker’s Chocolate are said to have increased by as much as 73%. The possessive form (German’s) was dropped in subsequent publications, forming the “German Chocolate Cake” identity we know today.

It has been suggested that the cake may not have directly originated from this recipe, as similar buttermilk and chocolate cakes had been popular in the American South for decades.
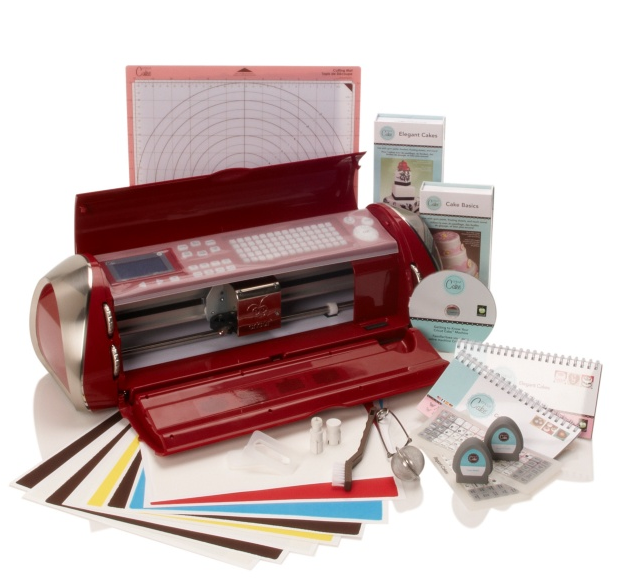
cricut cake…

Watch out… those crazy scrapbooking moms are going to become cake decorators over night.ProvoCraft has released a Cricut Cake™ Personal Electronic Cutter that makes cake decorating a cinch. I’ve never used a Cricut, so I’m not really in the loop. At first, I was disappointed. There’s something to be said for cake decorators that can make these kinds of cakes with their own cutters – the “old”way. I’ve done some fondant decorating and it isn’t easy. It takes time and skill. And overnight, all that skill is replaced by a machine. What will they think of next? A machine that bakes, tortes, fills, ices and stacks a tiered cake while you sit on the couch and wait?

I have to admit, the cakes that they are demoing are pretty neat looking. I suppose I shouldn’t bee TOO critical. In the least, you do have to know how to ice a nice looking, symmetrical cake before you can stick these cutouts on. You can go over to HSN for the details!