Monday, September 21, 2009
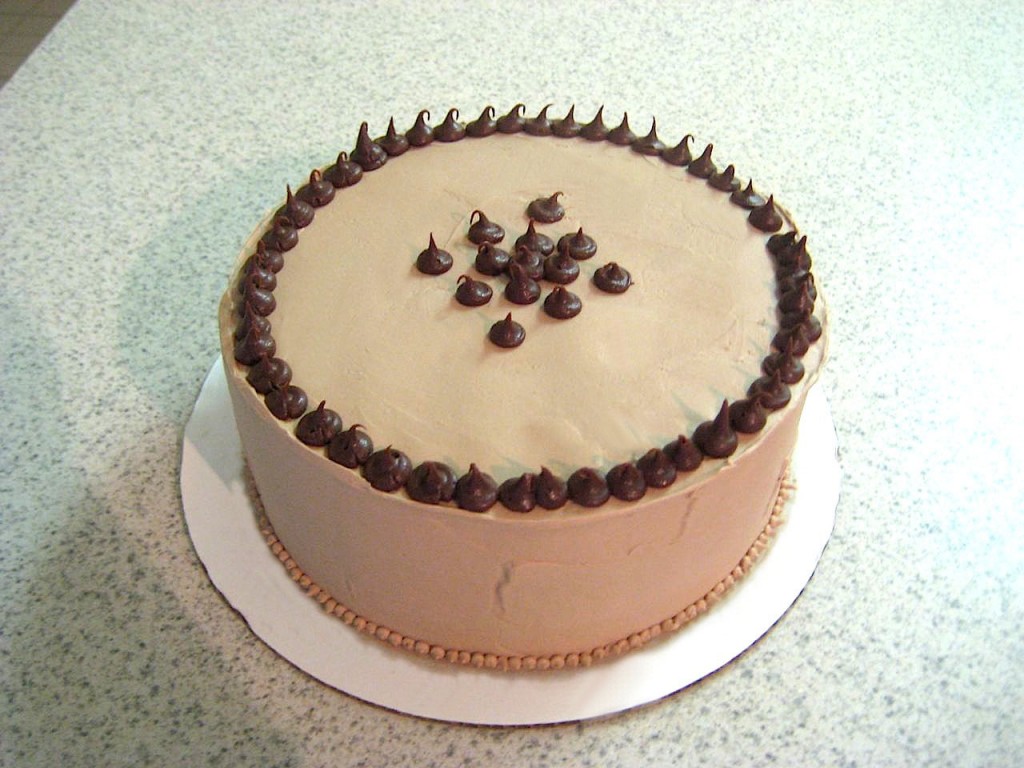
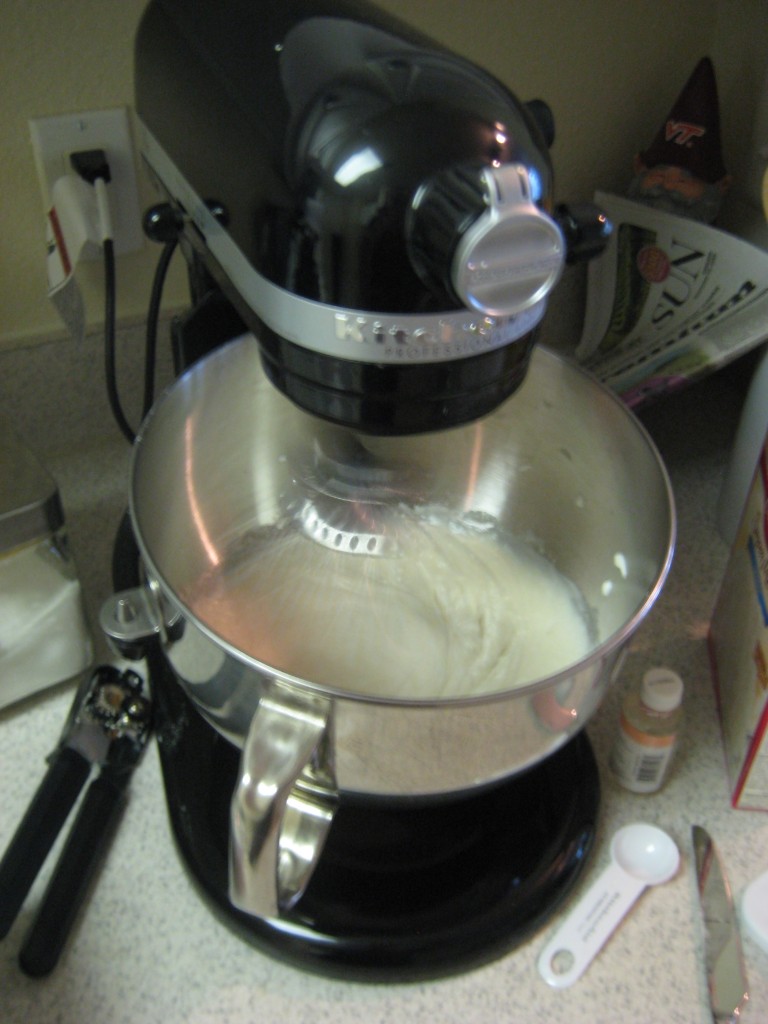
Despite the fact that this weekend was my and Brandon’s anniversary, he allowed me to spend all day in the kitchen yesterday experimenting with a cakeball recipe and using my new mixer. Which… by the way… I adore. I documented my first try at cake balls and I was fairly happy with the result! Below is how-to:
So first you want to bake your cake. It can be any flavor! Once it has come out of the oven and completely cooled, you want to crumb it. It is important that it has cooled because it won’t crumb as well if it is still warm. I’m sure there are 100 ways to crumb a cake, but I just ripped off pieces and ran a fork back and forth. It worked great!
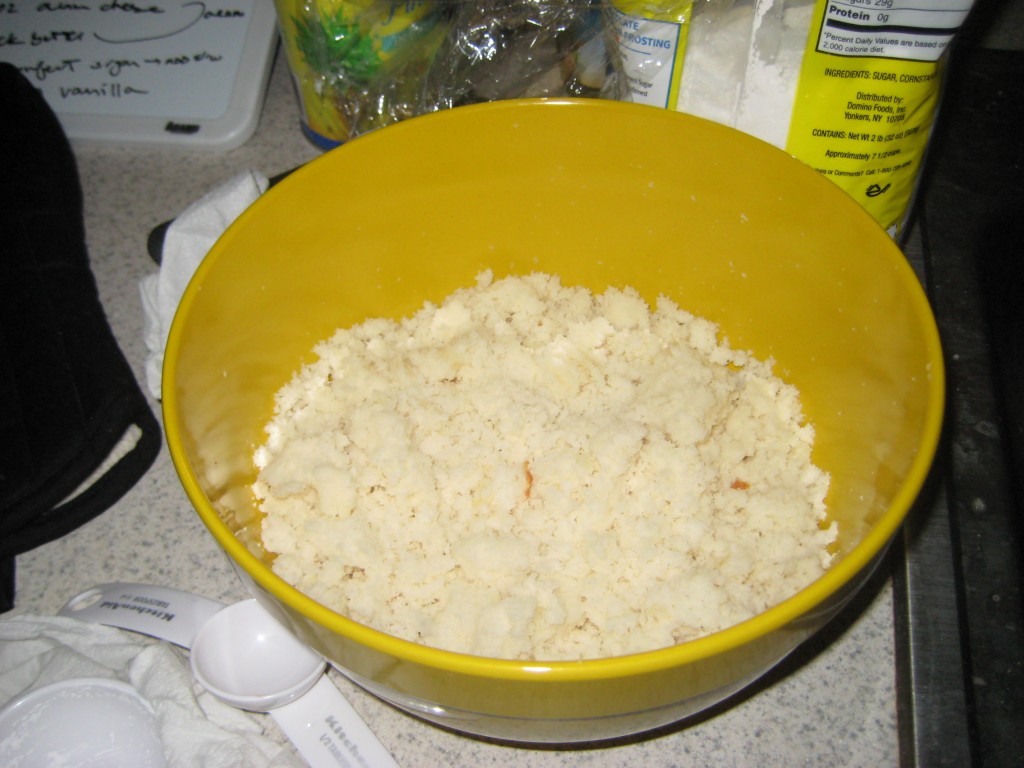
Next, you want to add your icing and mix it in. This can be any flavor icing or buttercream you want. You should be careful not to add TOO much icing… as you can always add more but you can’t take it out! You want to make sure that it is easily distributed so each cakeball will have enough cake and icing.
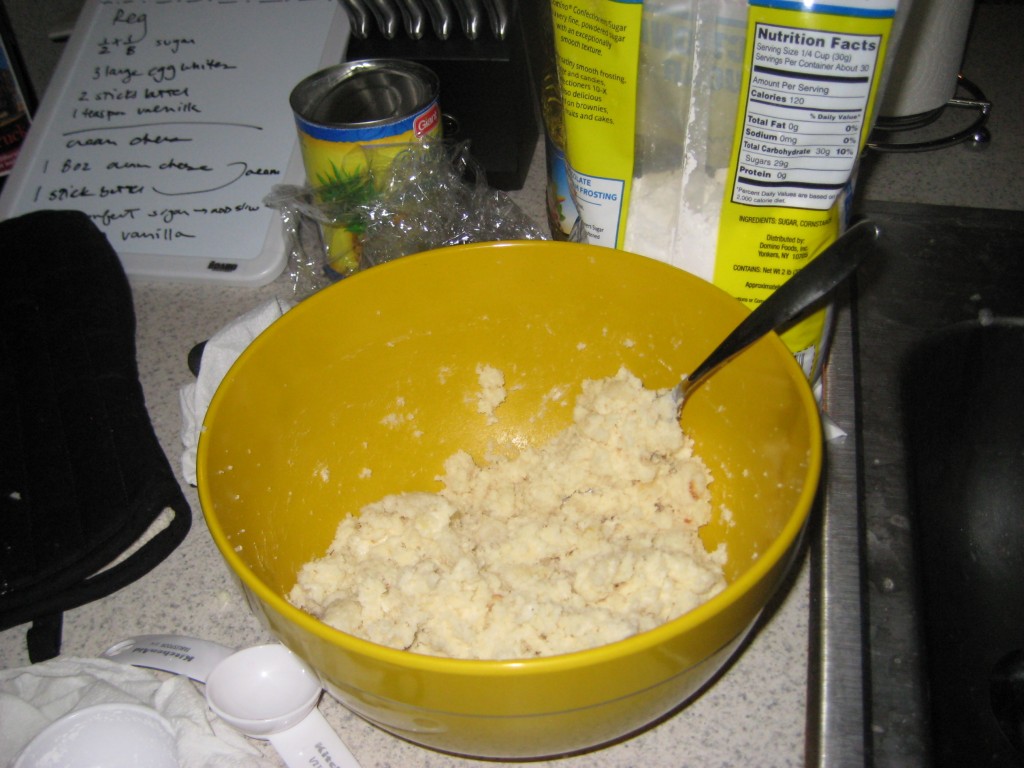
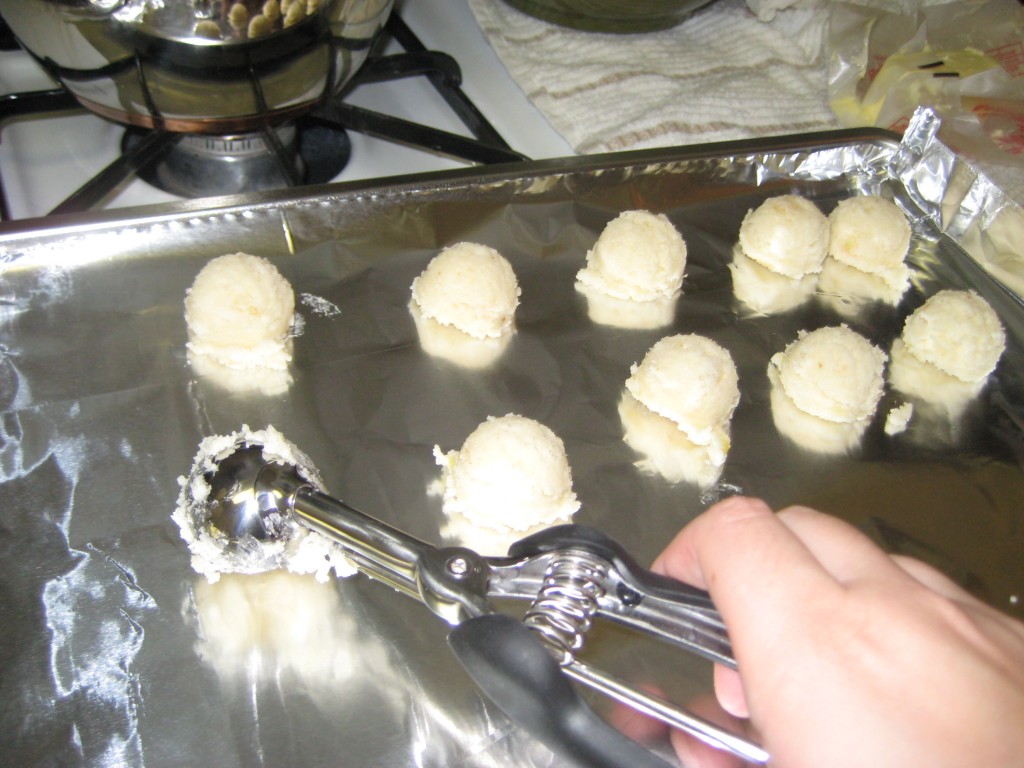
Now… you create the balls! I’ve seen several ways to do this. Some people will grab some and roll it in their hands to create a ball. I have a problem with touching food other people are going to eat, so I used a small cookie scoop. It doesn’t turn out PERFECTLY round, but I guess you have to figure out what’s most important to you.
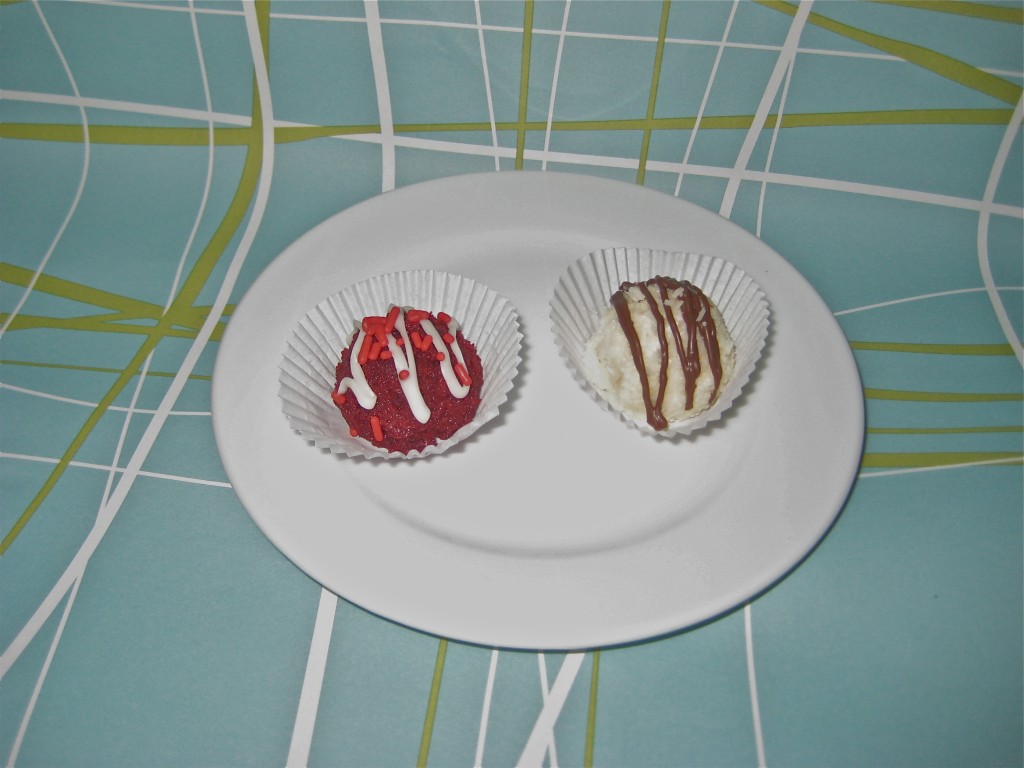
Next comes the tricky part. Covering it in chocolate. I tried this with some chocolate wafers. In order to cover them with chocolate, the chocolate has to be on the thinner side so you can pour it over the cake ball and the excess drips off. My dark chocolate wasn’t very thin and it didn’t work out. I tried to mold the melted chocolate around the ball, but I got a bumpy, uneven surface. Since I am a perfectionist, I had to stop and do some problem solving. This is when I settled on just drizzling chocolate over the cake balls. I later found out that the milk chocolate melted thinner as did the white chocolate, but it could be completely different for everyone. Maybe it was the brand of chocolate wafers, maybe it was the humidity, maybe it was the microwave. Who knows! Trial and error! Here is the end product. Red velvet with cream cheese buttercream on the left and classic white almond with vanilla buttercream on the right.
Friday, September 18, 2009
For anyone who cares… my mixer came in two days ago… YESSSSS!!! This only means one thing – I will be making cake balls and mini cupcakes this weekend! YESSSSSS!!! Can you tell I’m excited?? Because I am super excited! I’m sure all of my wonderful coworkers will appreciate this, seeing as how they will reap the benefits on Monday : )
Happy Weekend Everyone!!
Friday, September 18, 2009
Before I started my cake business and this blog, I thought an anemone was a sea creature. Well it is, but it is also a flower! In fact, one of the very few flowers that have black parts. It is for this reason that they are HUGE in the wedding world… because brides with black and white wedding colors use them a lot!
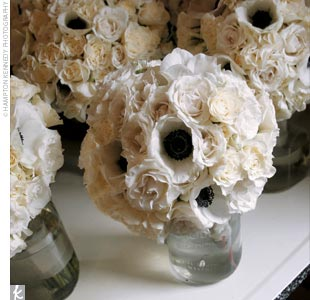
photo from theknot.com and copyright Hampton Kennedy Photography
So since they are very popular wedding flowers, they are obviously very popular flowers that are replicated with gumpaste! I came across these pictures of a wedding cake by Take the Cake on Hip Hostess Blog.
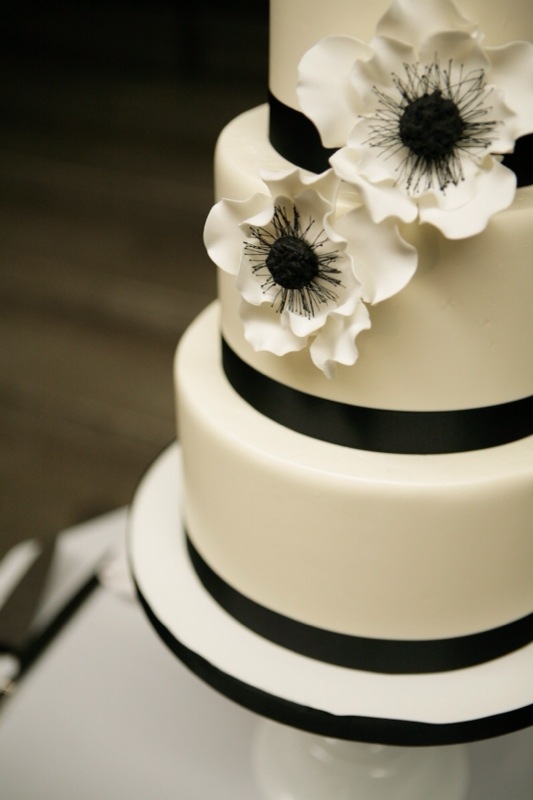
How beautiful! Anemone’s also come in other colors! I think I might try this out with my gumpaste… we will see how it goes!
Wednesday, September 16, 2009
Gum paste is essentially a very sweet edible sugar dough that is made from sugar, flavoring and glucose. More experienced cake decorators use gum paste to create VERY lifelike flower decorations for cakes and other desserts. I’ve always wanted to try making flowers with gum paste but thought it would be too difficult to master. After scouring the internet and youtube for countless gum paste tutorials, I made a trip to Michael’s and bought everything I needed to try out my own flowers. All of the videos I watched made it look easy, so I figured, hey – how hard could it be?
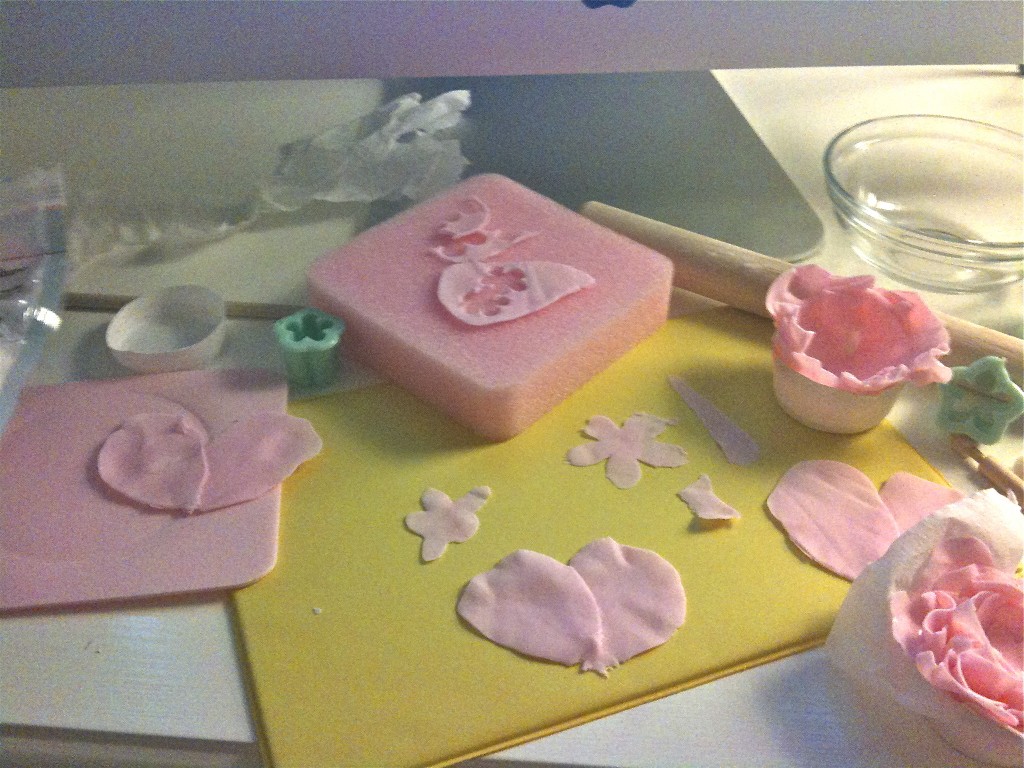
Umm… it certainly wasn’t easy! First of all, you have to have ALL of the right materials. Not only do you need gum paste and a rolling pin, you need special cutters, tools, etc. I’m usually pretty good at improvising when I don’t have all the necessary tools – but that doesn’t work very well with gum paste. After some practice, hard work, and a ton of patience, here is my creation!
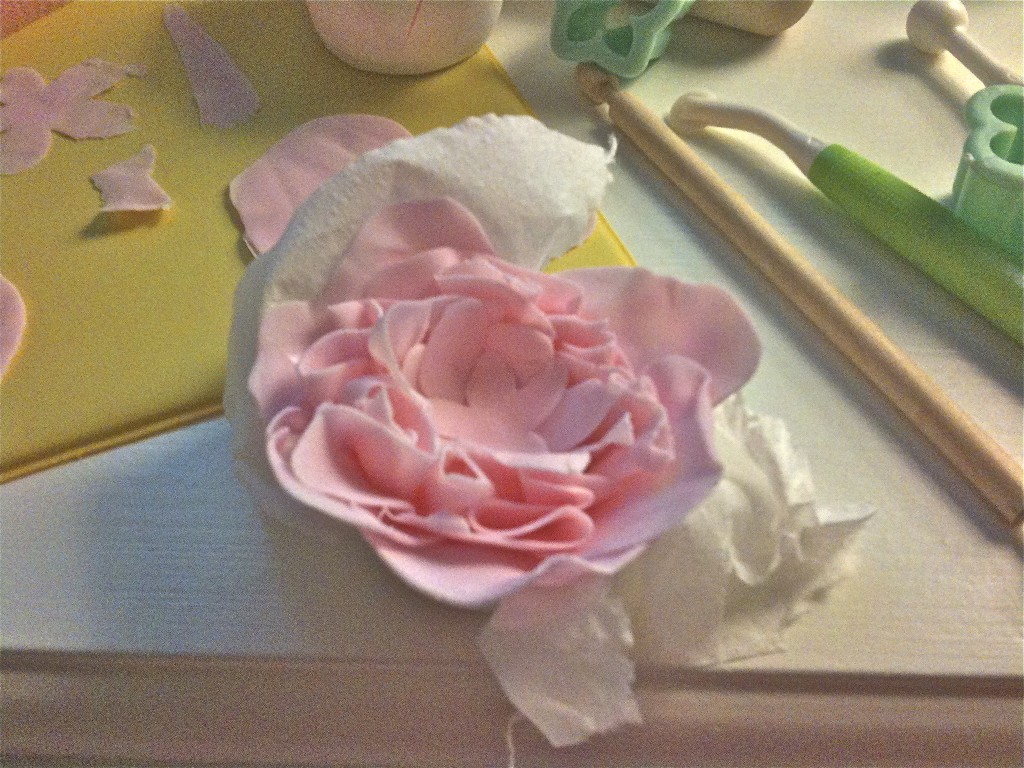
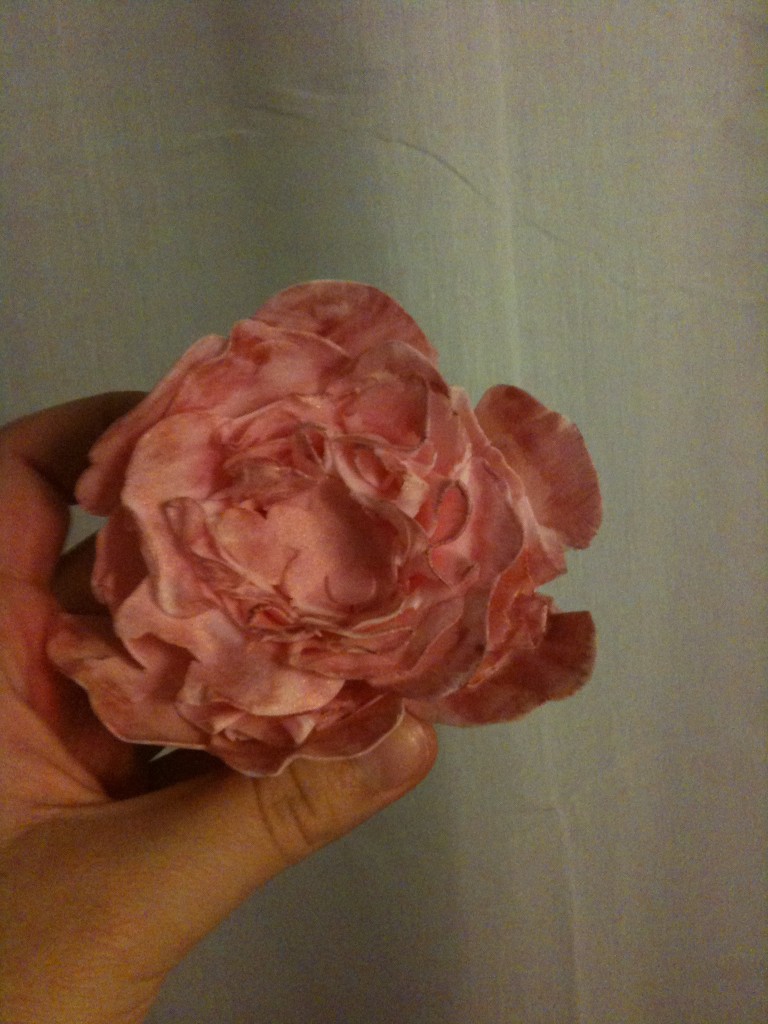
It is sort of peony-ish. I tinted the gum paste a light pink and dusted it with some coral luster dust. I haven’t finished it… as it does not have a middle but it will soon! I’ll post the finished product along with the cake it is going on when I am done!
Monday, September 14, 2009
SIGN ME UP!
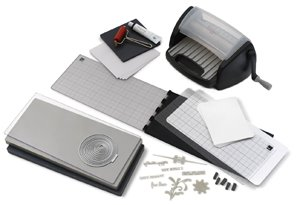
Lifestyle Crafts has come out with a letterpress machine that you can use at home! It says it is due out this fall! Yess!! If you don’t know what letterpress is, it is like textured printing in many colors. I want one sooo bad! My only problem is that I have no where to put all of this cakery/paper stuff I keep buying!
Letterpress by Lifestyle/Quickutz
Monday, September 14, 2009
I came across this cake on Martha Stewart Weddings and my heart stopped… it combines my two favorite things: paper and cake. Enjoy!

Friday, September 11, 2009
I was reading one of my favorite blogs, snippetandink.com, and she featured a link to Linda & Harriett’s blog of Lindaandharriett.com. A lot of blogs and web addresses, I know, but the whole point is that I love rubber stamps too! I’m actually working on a line of stationary that is going to be part of the “paper” portion of my “business.” So that page on my website will be up soon! I promise!
Anyway… here is a picture that was posted on L&H’s blog of a menu that she did using a rubber stamp. I LOVE IT!
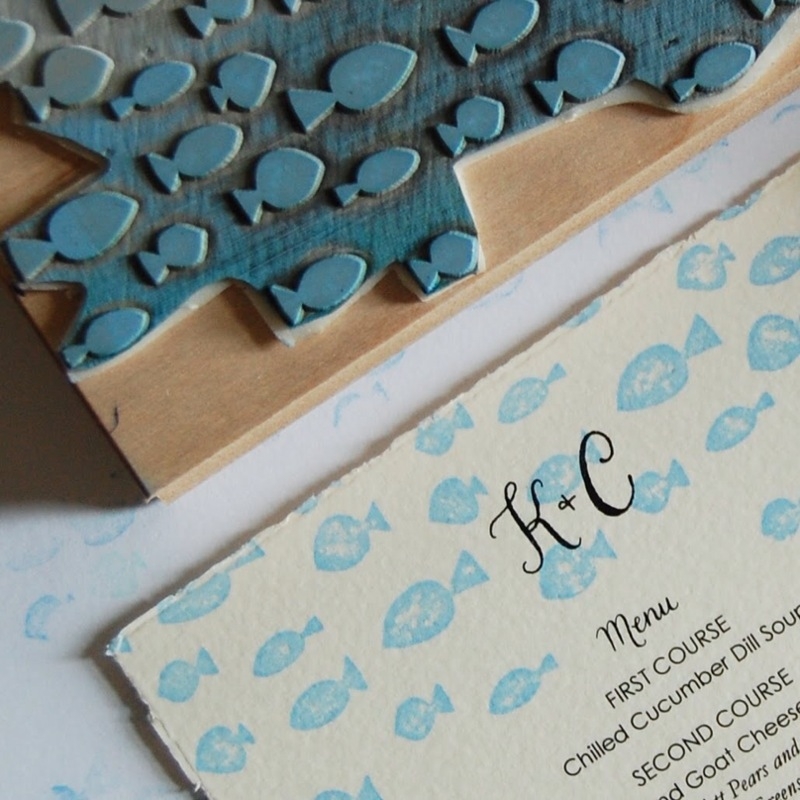
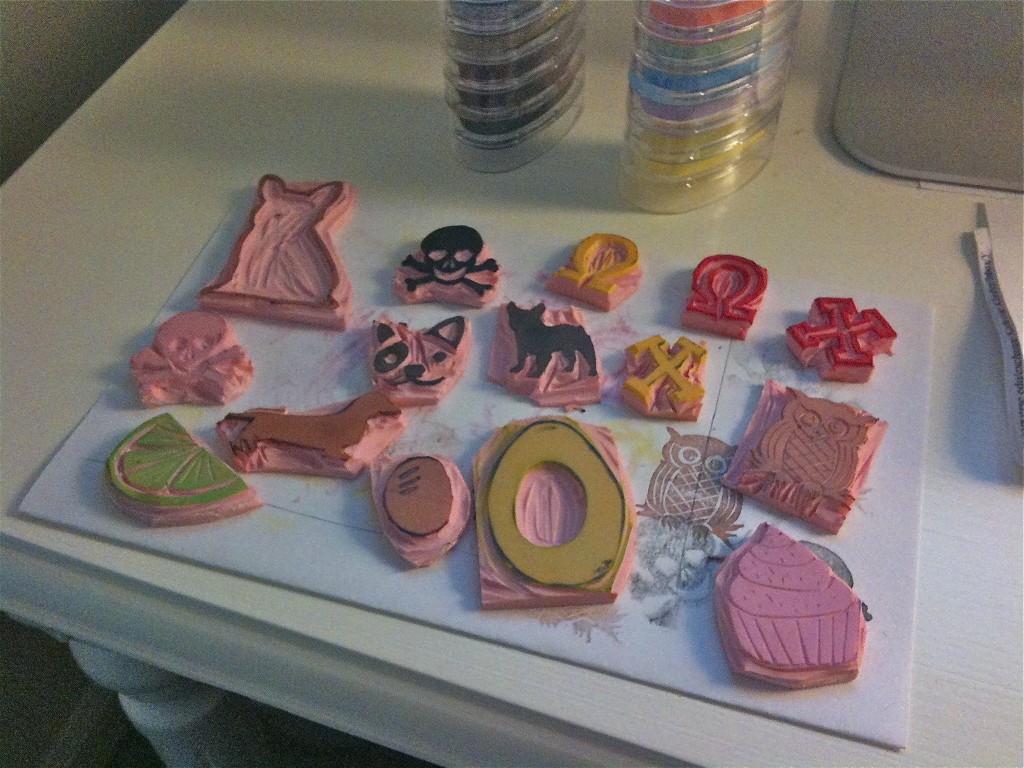
You can either buy rubber stamps, or make your own. I’ve found that making my own is quite a lot of fun. The stamp above was fashioned after a letterpress design, although it was not hand-carved. Below are some of my designs so far… you can carve just about anything!
Friday, September 11, 2009
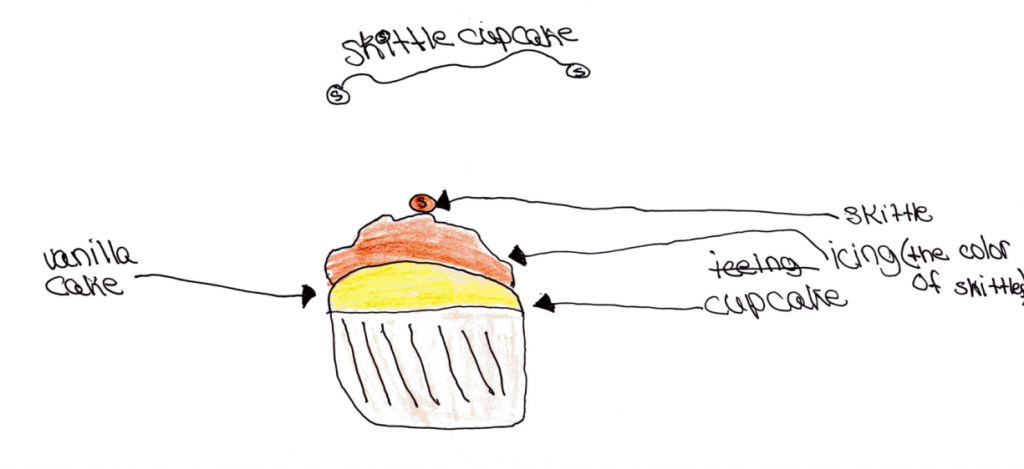
I have to share this with you because I was so impressed. Patricia, whom Brandon used to work with, has the sweetest, most creative daughter. Her name is Tiana and she is a big fan of Kara’s Cakery. She designed the “Skittles Cupcake” and I was very impressed with her vision and ability to come up with this tasty treat! She will certainly be my first go-to cake designer/baker/cake decorator if I ever open a dessert studio!
Wednesday, September 9, 2009
I came across this article on Project Wedding and thought it was so cool. As a fan of colorful cakes, they suggest multiple, simple cakes instead of one wedding cake, with vintage wedding toppers. Personally, I am not a big fan of toppers like these, but it is a cool idea! I just thought the pastel colors and variation of cakes made for a very original, attractive dessert display!


Go here to read the article http://www.projectwedding.com/wiki/show/a-vintage-cake-topper-spread
Tuesday, September 8, 2009
I spent Labor Day weekend in Columbia, Maryland. Brandon recently moved into a new apartment and his parents came to visit. Seeing as how I’m the cakery queen, Brandon requested that I make a dessert of somesort for the weekend. I decided on a vanilla cake, with my brandy raspberry filling and chocolate mocha buttercream. The tartness of the filling went great with the chocolate mocha buttercream.
