Skip to content

lots of color

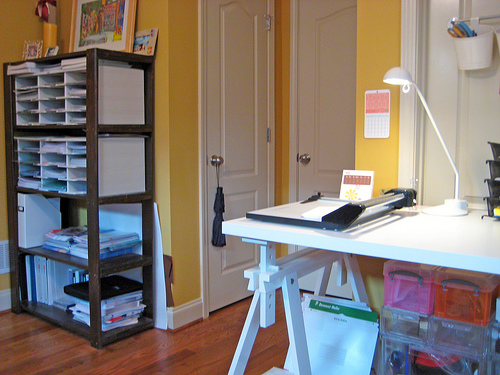
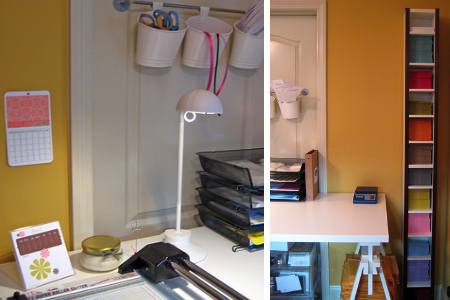
I may not be a hoarder by clinical standards, but I like to buy/collect/hoard anything colorful and related to crafts/baking. I don’t decorate our home with rainbow colors, or wear rainbow colored clothing. I just like to decorate colorful confections and create colorful paper products. I have a giant box of multicolored cardstock. It may seem unnecessary, but it is a great go-to for birthday cards! One day when we have a big house with rooms that we don’t know what to do with, I will guarantee you that one will be my supply/craft room! I envy Stacy’s InkSpot Workshop workspace.


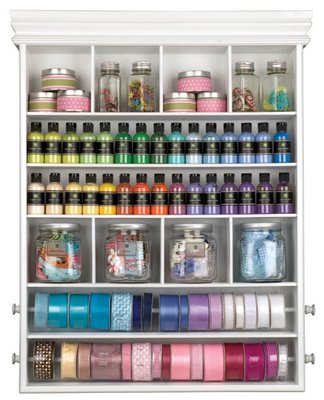
… and you better believe I will have a Embellishment Center!


Here are a few of my favorite products.

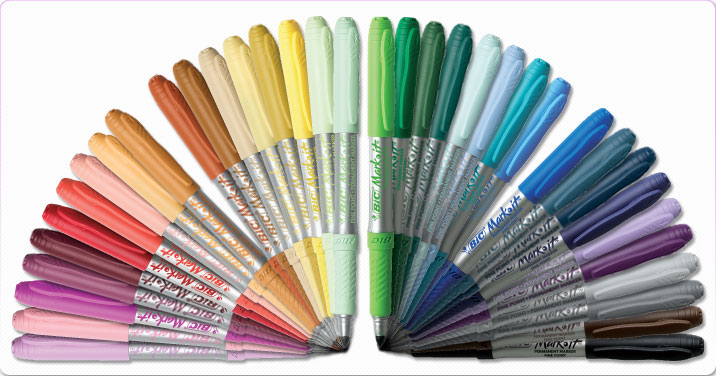
bic mark it permanent markers


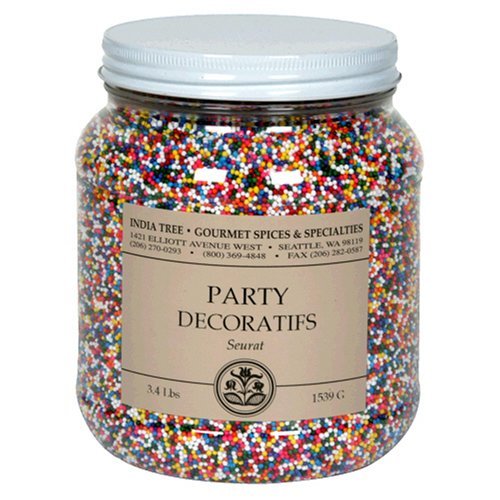
india tree rainbow non-pareils


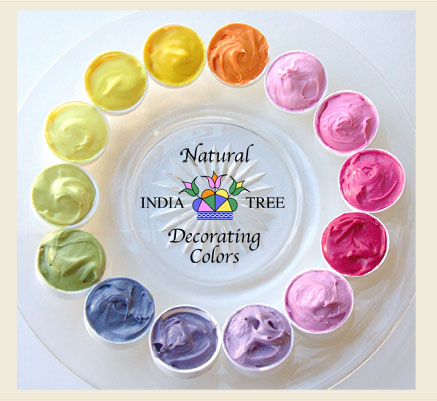
india tree natural decorating colors


japanese masking tape


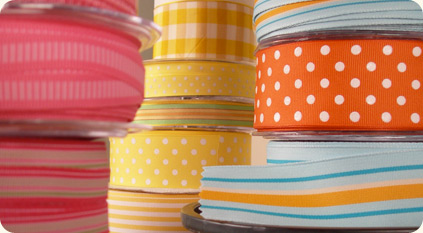
colorful rolls of ribbon


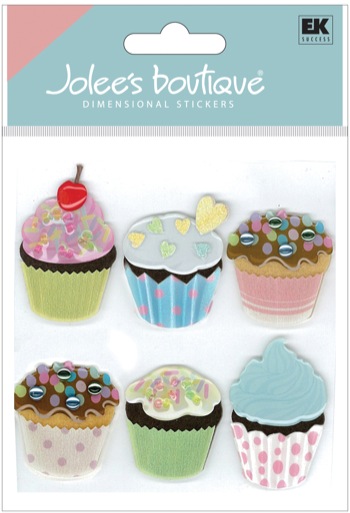
jolee’s stickers and embellishments


bake it pretty baking cups


Hope I didn’t overload you with color! I am working on some really cute Fourth of July cookies. I’ll post them soon! Happy Thursday.

kara’s incredible peanut butter dipped brownies

After rave reviews of a recent batch of peanut butter brownies – I figured I’d share the recipe with you since it isn’t a secret or anything. Here is everything you will need!

1/2 cup peanut butter

1/3 cup margarine, soft

2/3 cup white sugar

1/2 cup packed brown sugar

2 eggs

1/2 teaspoon vanilla

1 cup all-purpose flour

1 teaspoon baking powder

1/4 teaspoon salt

5 oz chocolate chips or chunks
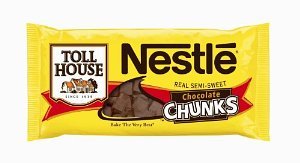
To make them fancy Kara’s Cakey Style, you’ll also need:

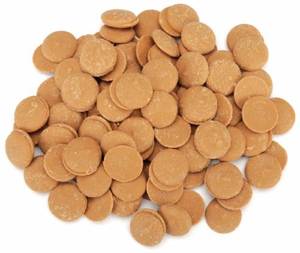
A Bag of Wilton’s Peanut Butter Candy Melts and a dollop of Crisco
 

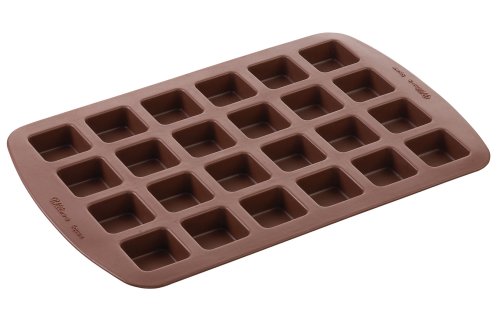
A Wilton Mini-Square Silicone Mold
Directions:

1) Preheat oven to 350 F. Lightly spray your silicone mold with baking spray – I use the Pam with the Flour in it.

2) In a bowl, cream together soft margarine and peanut butter. And then add brown sugar, white sugar, eggs and vanilla. Mix thoroughly. In a separate bowl, sift flour, baking powder and salt together. Then add dry ingredients to wet ingredients and mix until well blended. Add chocolate chips or chunks and fold in by hand. You can add more or less – depending on how chocolatey you like it.

3) Bake for 20 – 30 minutes or until the top begins to brown and springs back when touched. You can also use a cake tester to make sure the batter isn’t wet. If you like your brownies chewier, you can bake them longer. I left mine in for about 25 minutes.

4) Dump them out onto a lined cookie sheet. You may want to trim them into perfect squares – when they bake, the brownie will rise up over the mold and spread out. I cut the edges off so they looked prettier and neater. If you are just enjoying these at home, this step really doesn’t matter.

5) In a microwave safe bowl, dump in a handful of peanut butter melts and about a half a tablespoon of Crisco. Microwave for 30 second intervals, stirring in between. The Crisco will thin the peanut butter melts, making them easier to dip.

6) Dip squares and place on lined baking sheet. After you finish, place the baking sheet in the freezer so the peanut butter coating hardens faster. You can add sprinkles, colored sugars or melt some of the chocolate chips/chunks and add a little chocolate like I did!

7) Enjoy!
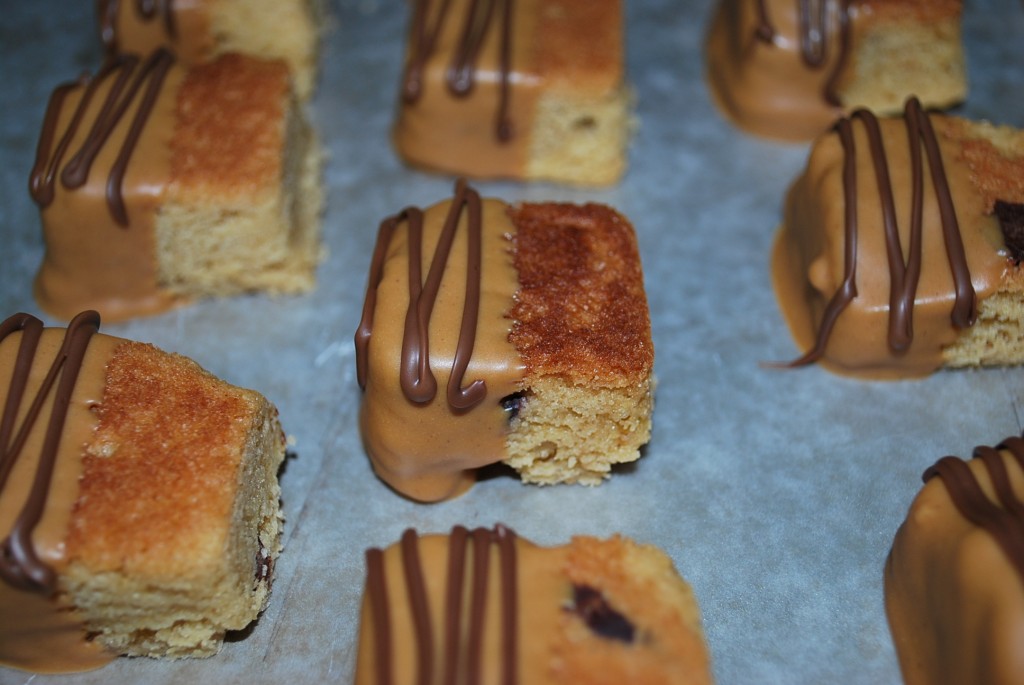
If you use the silicone mold, this will make about 25 brownies. If you make them in a regular pan, it will make approximately 16 squares, depending on how large you cut them!
poker, peanut butter and a yellow reception cake

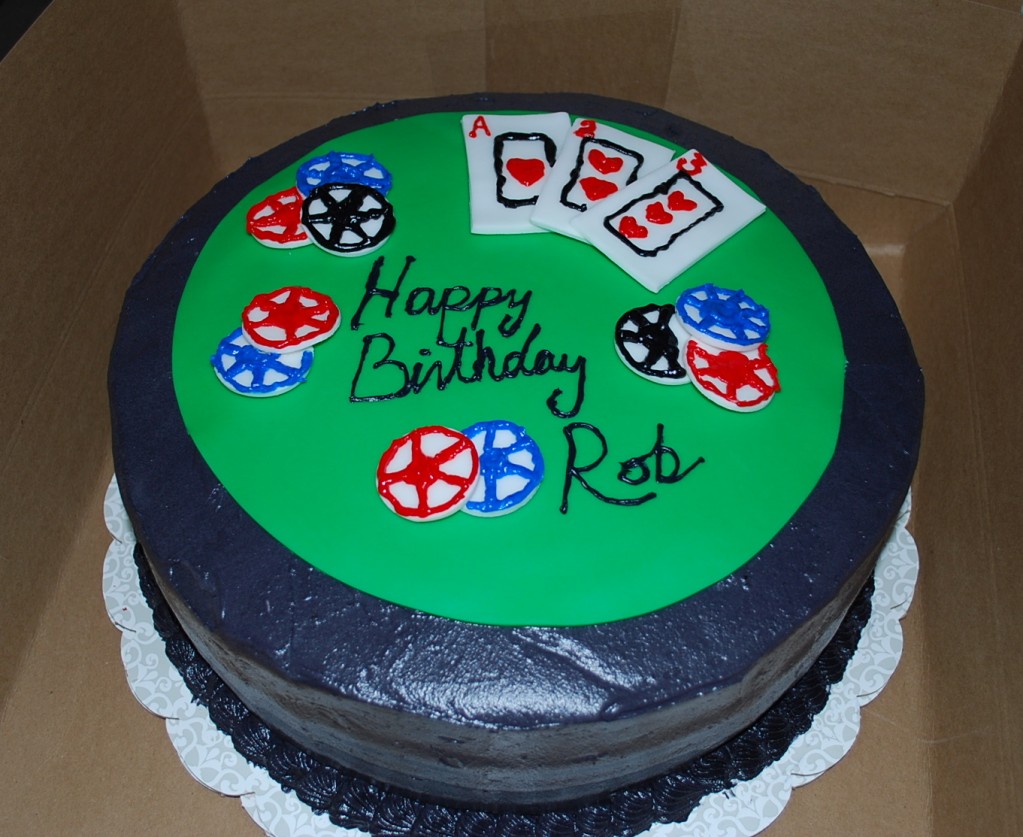
In addition to being on vacation, I’ve been a little busy with a few orders. The first was a birthday poker cake. I went back and forth with the idea of painting the poker pieces with gel color and actually piping on the details. I decided to pipe the details.

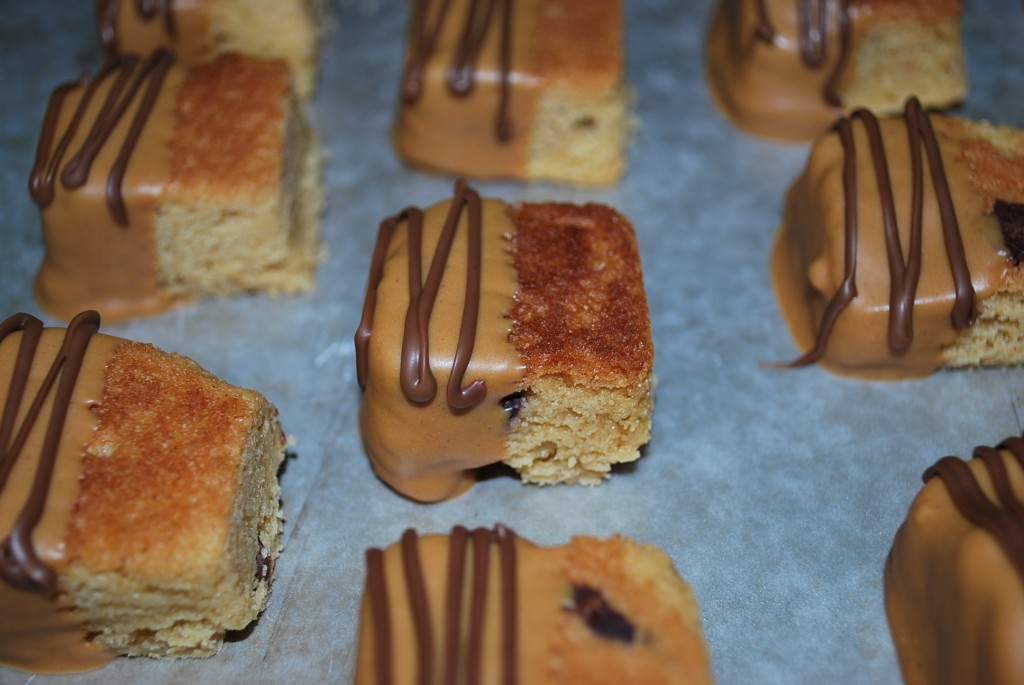
Next was an order for peanut butter brownies. I have to admit that prior to this order, I’d never made peanut butter brownies. The client found a recipe that she liked and it turned out to be a really great recipe. I baked the brownies in my bite-size brownie square silicone mold and decided to dip them in some peanut butter candy melts. To top it off, I drizzled chocolate over the top for decoration! Brandon usually gets the duty of taste tester – which isn’t always a bad thing – and the verdict was “I don’t really care for peanut butter but this is amazing!” Turns out my client and her fiance loved the brownies and they were a huge hit at the party. Woohoo!! I’ll post the recipe soon so you can try them at home!
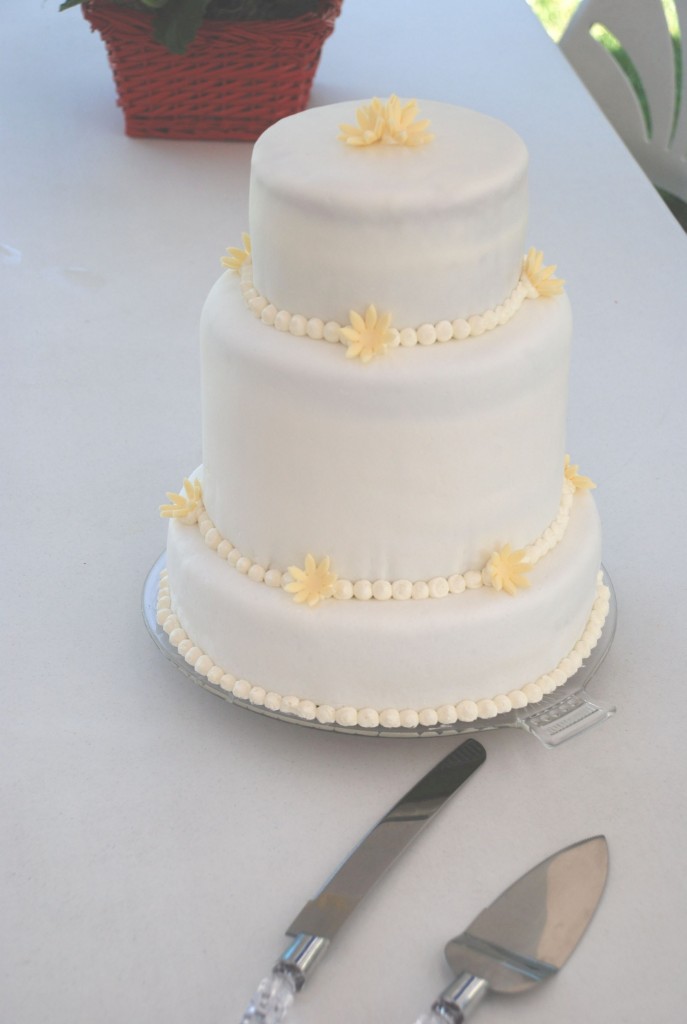
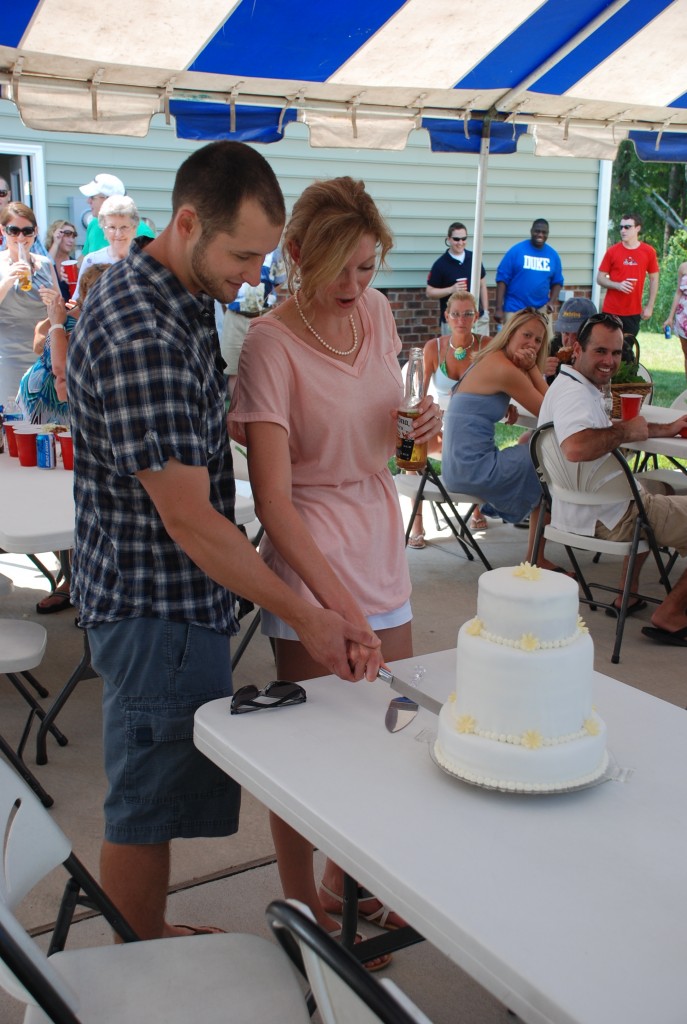
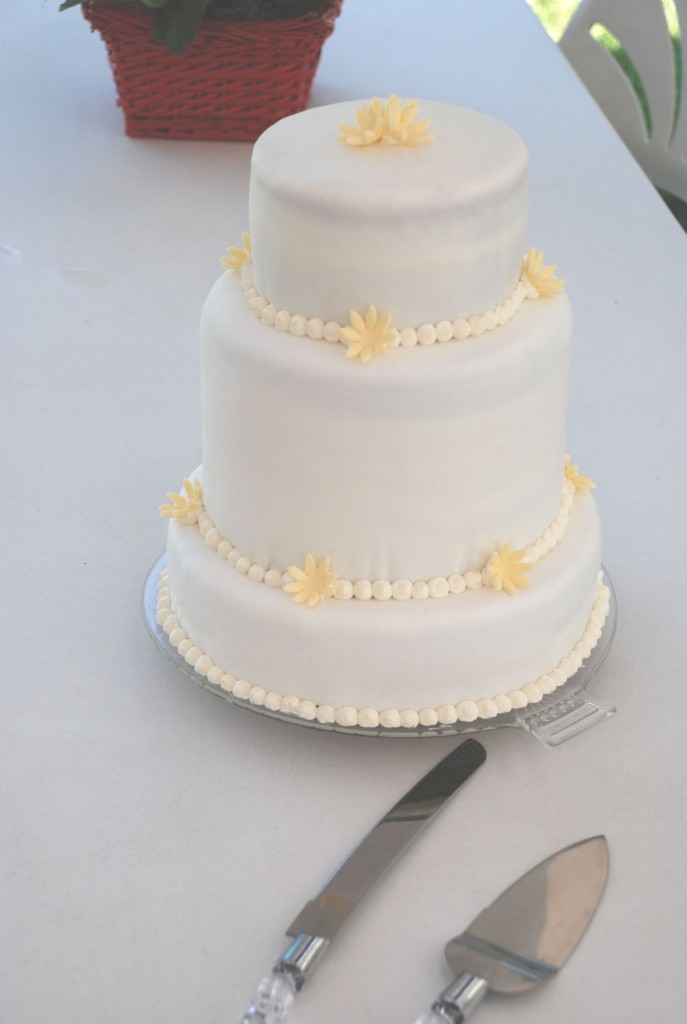
And last but certainly not least, a reception cake! This order was a gift for Brandon’s newly married brother and sister-in-law. They were the reason we got to travel across the US to a lovely little city called Las Vegas! Last Saturday her family threw a fantastic reception/summer BBQ/yard games shin-dig. I used my marshmallow fondant to cover the cake. I went with a more modern wedding cake – using the “taller tier” trend for the middle tier. I finished it off with buttercream decorations and some yellow fondant flowers.

It was an almond cake with chocolate ganache buttercream filling, a thin almond buttercream layer and then covered with almond marshmallow fondant.

That may or may not be me in the background enjoying a cold alcoholic beverage after waking up at 5am to drive down to Hampton and assemble a wedding cake before a 1pm reception….

The verdict? A beautiful and tasty cake. Thank you Mr. Gulla for the great reception photos!

marshmallow fondant tutorial

While I cover hardly any of my cakes in fondant, that doesn’t mean I don’t like to make it or use it. I just prefer simple buttercream cakes. However, I recently covered a wedding cake in fondant and decided to make my own so that it tasted better. I had one of two options: marshmallow fondant or classic fondant. The classic fondant recipe required my mixer and some goo – and seeing as how I had just mixed up several batches of almond wedding cake, I decided to spring for marshmallow fondant. Here is how it is made my friends:

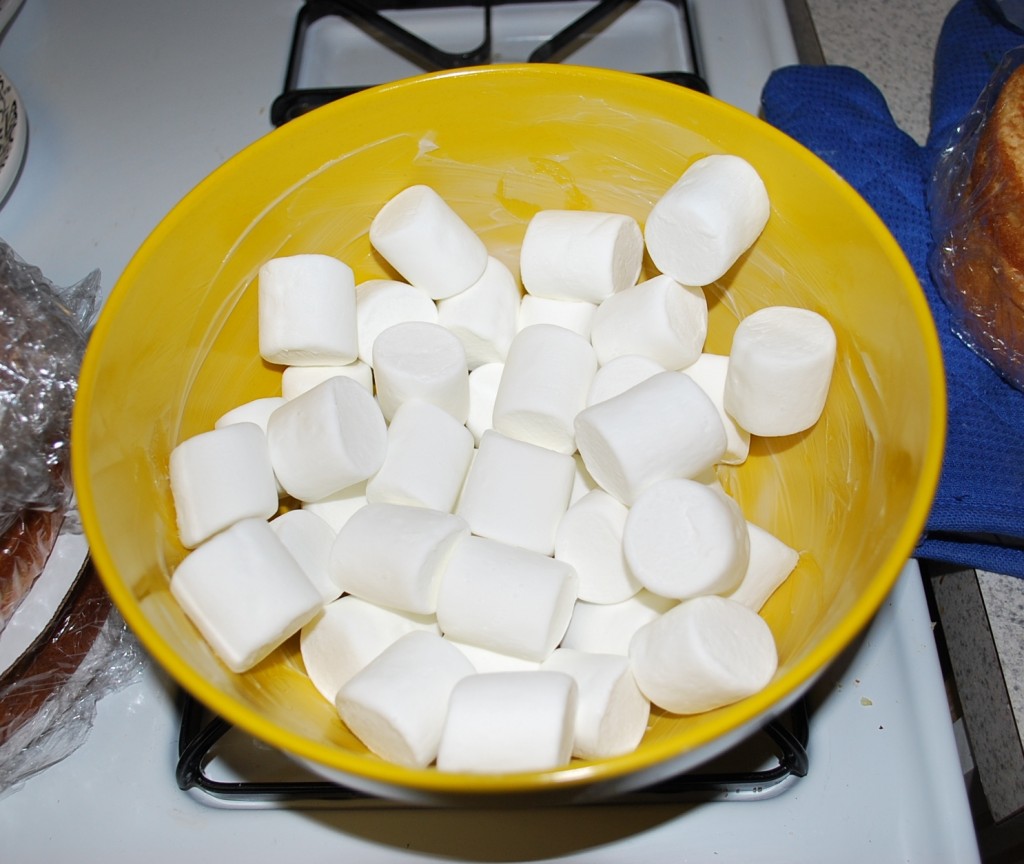
1) Make sure you have a nice big bowl that all of your marshmallows will fit in with extra room. When marshmallows are heated, they expand in size. You don’t want an overflowing bowl of melting marshmallows in your microwave = sticky sticky mess.

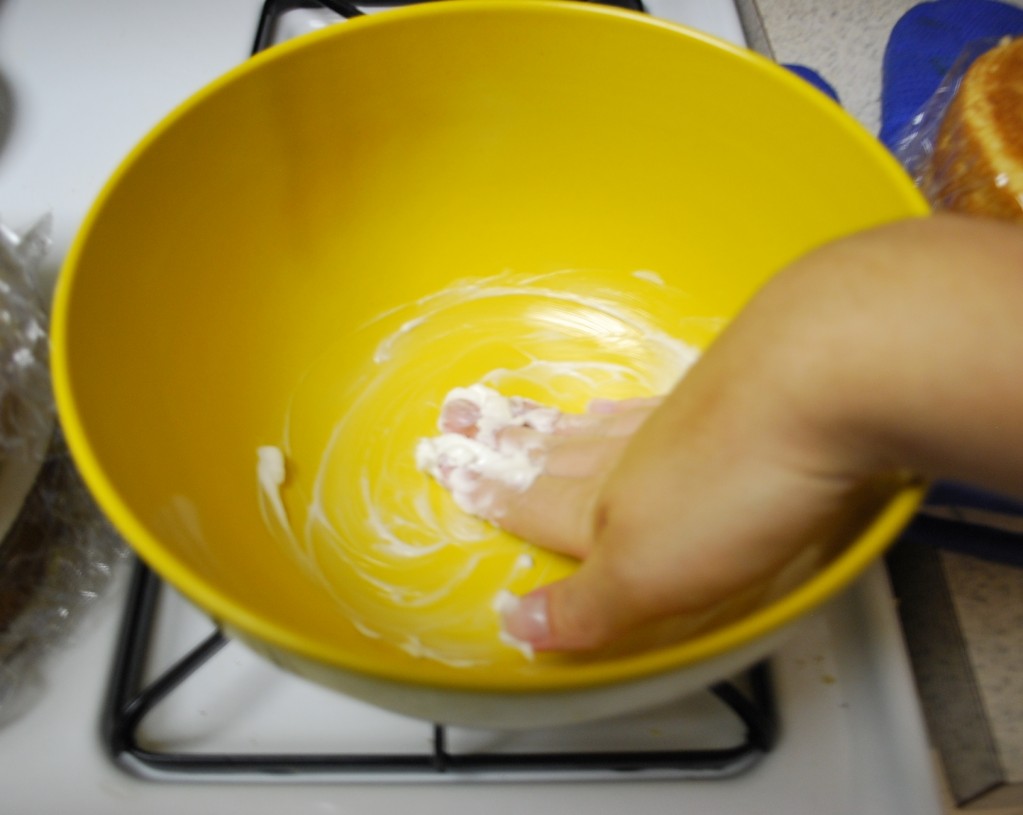
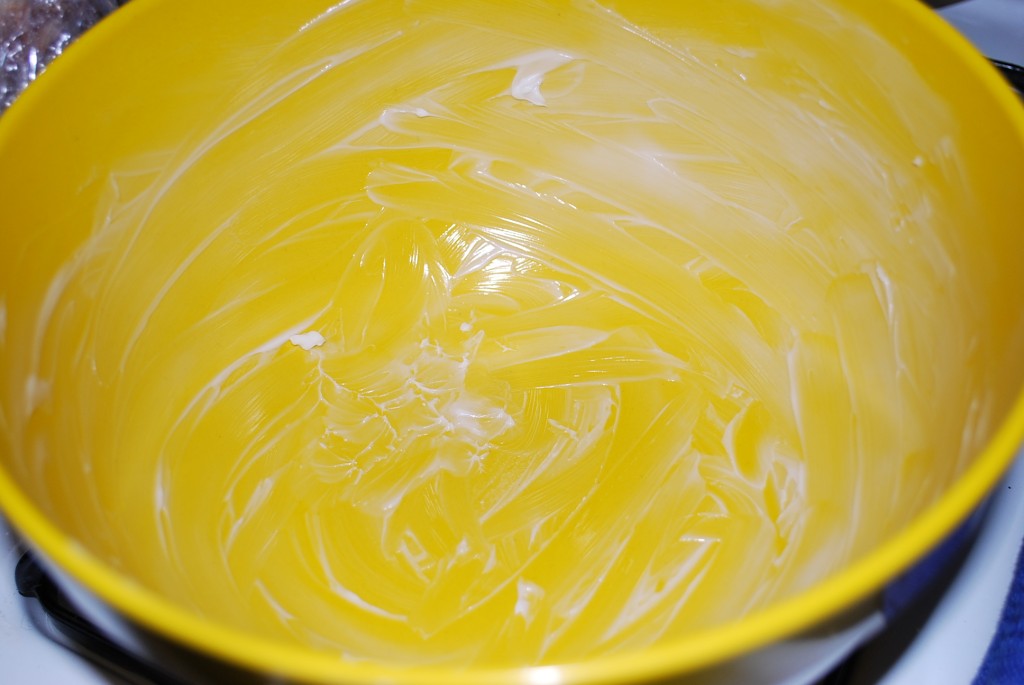
2) Get friendly with some shortening – you’ll be using a lot of it. GENEROUSLY grease your bowl with shortening – I use Crisco.

3) Pour in a bag of marshmallows. You can use mini or regular. Mini might melt faster. This will make about enough fondant to cover a 10” two layer cake. If you need more than that, add two bags of marshmallows.

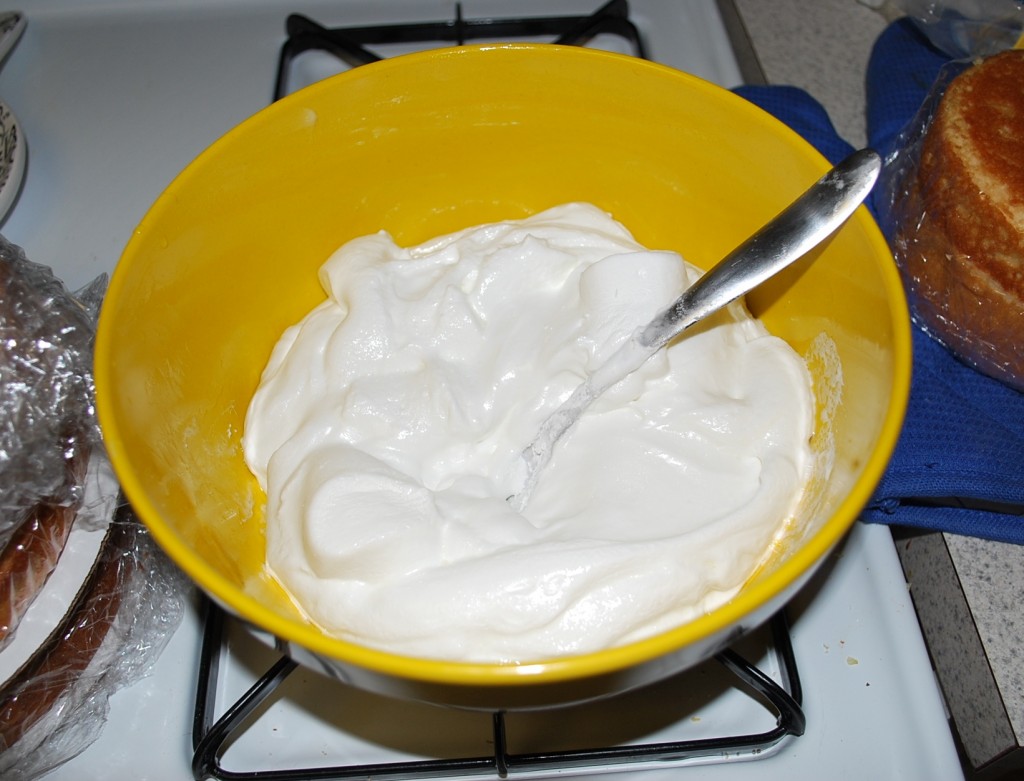
4) Sprinkle about 2 tablespoons of water over the top. I also sprinkle a little almond extract. Microwave the marshmallows in 30 second intervals. They will almost double in size and start to melt. When they start to melt, use a HEAVILY GREASED wooden spoon (or regular spoon) to stir in between heating intervals.

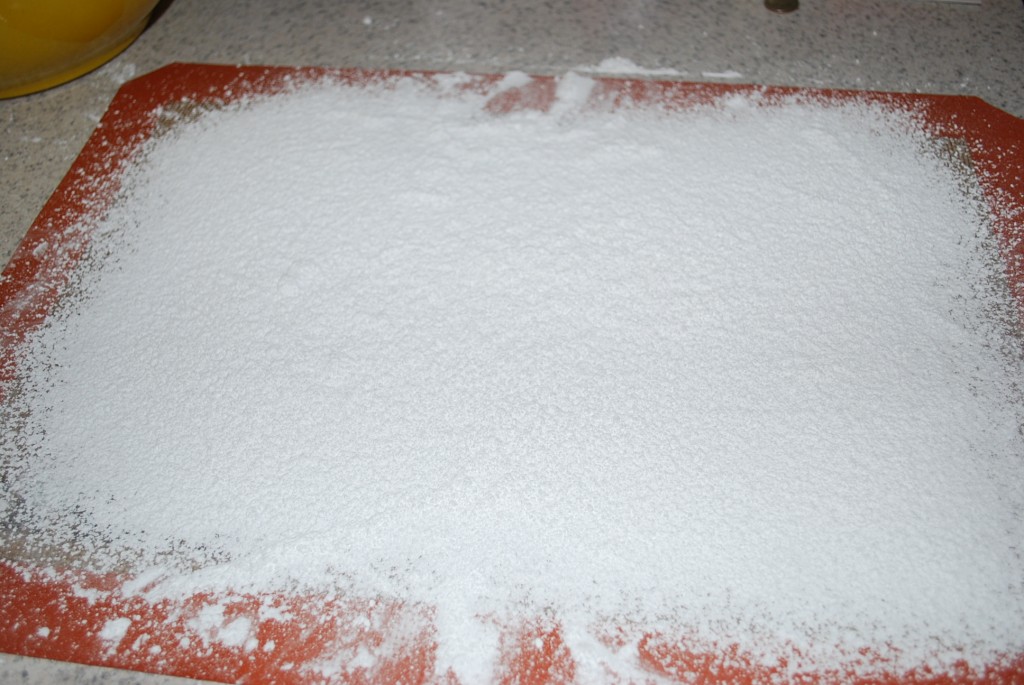
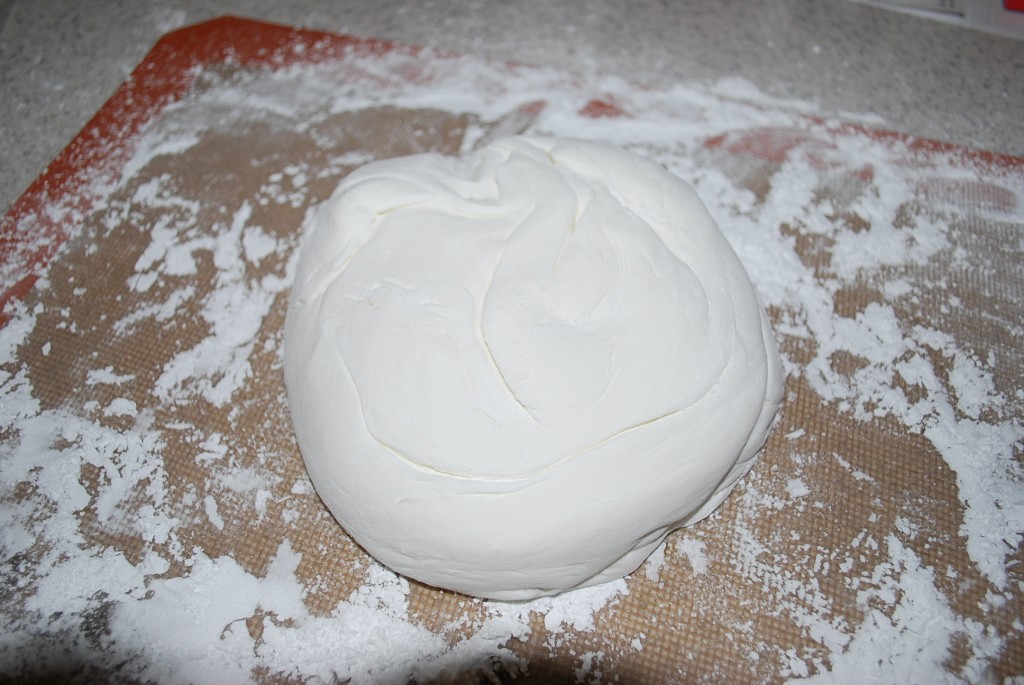
5) Once they’ve melted, cover a silpat with powdered sugar and dump out the marshmallow blob on top. If you don’t have a silpat – buy one. It is the best baking investment you’ll ever make. If you greased your bowl well enough, it should slide right out. DO NOT grease your silpat… just cover it thoroughly with sifted powdered sugar.

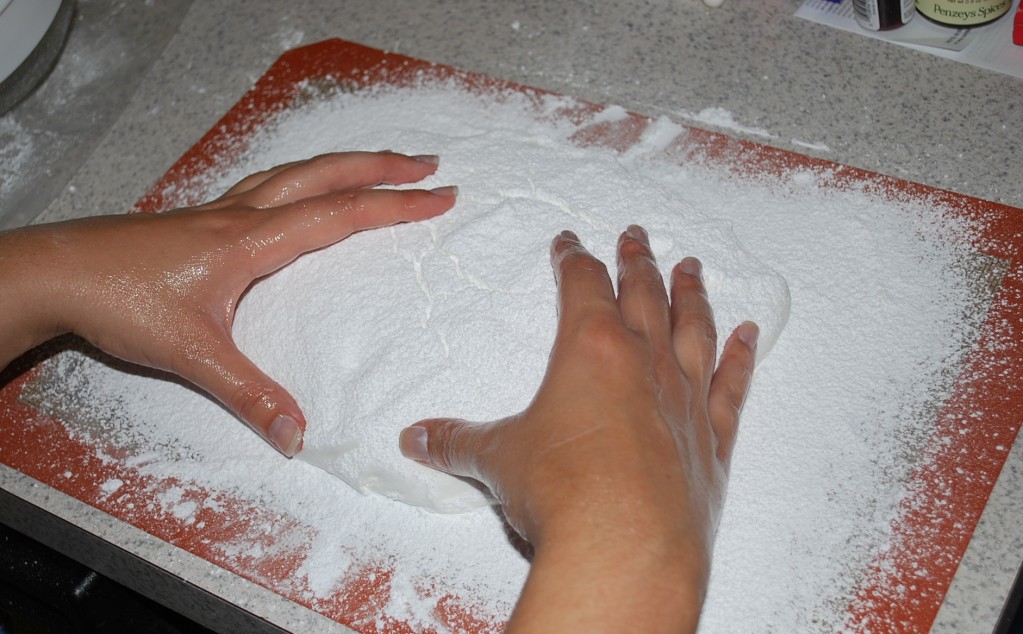
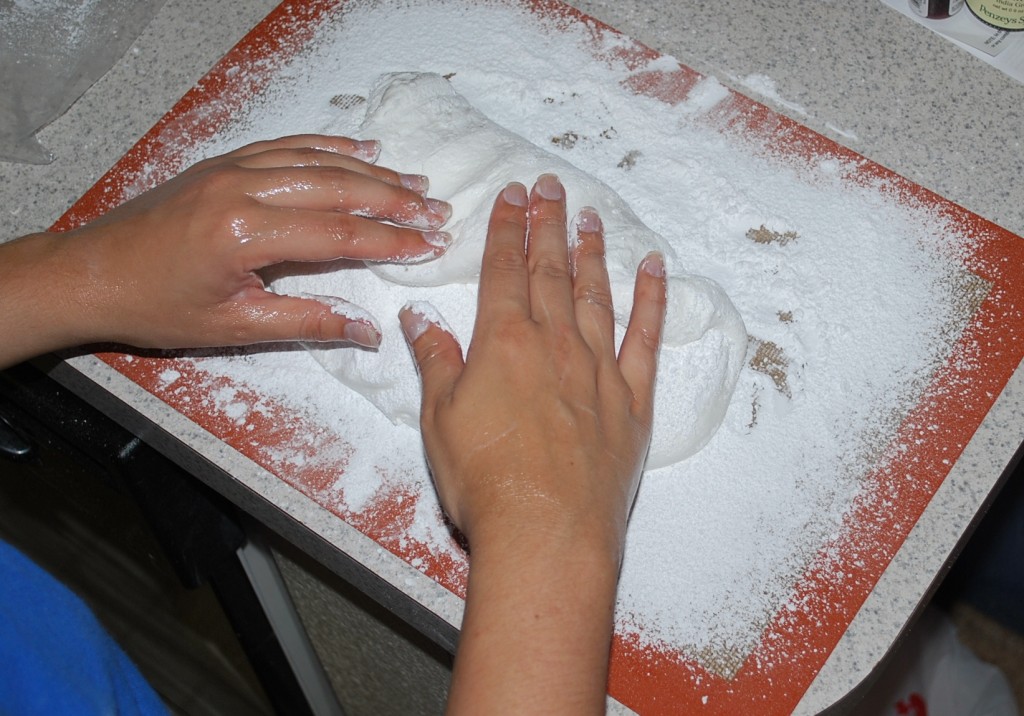
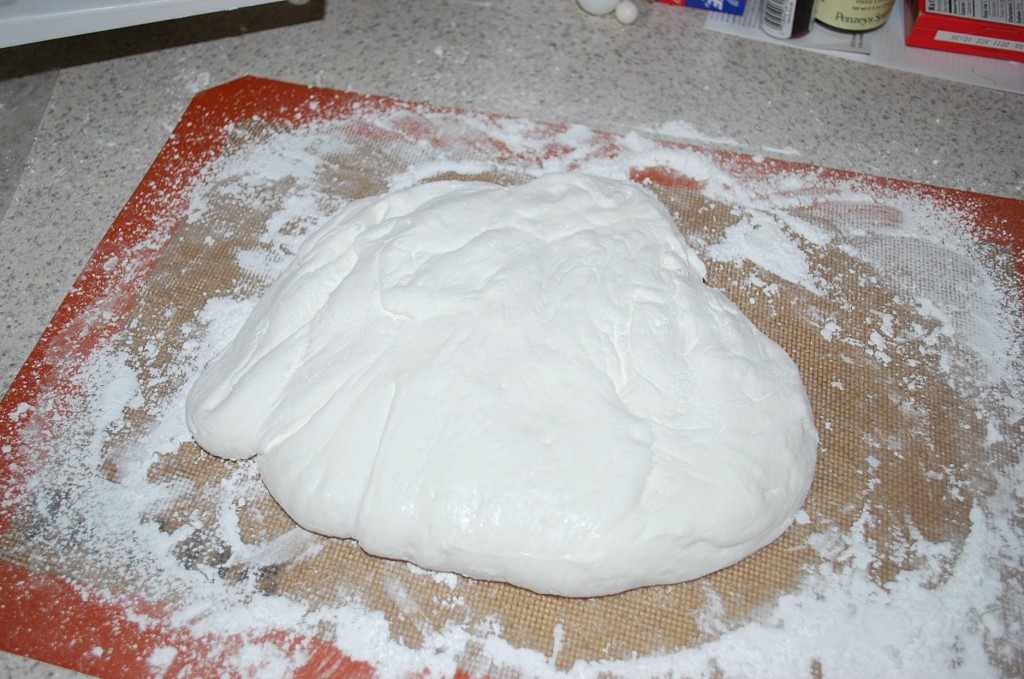
6) Cover the blob thoroughly with powdered sugar. It is VERY IMPORTANT to sift the sugar, as small clumps will show up and effect the fondant’s smoothness on the cake. Grease your hands THOROUGHLY with shortening. Begin kneading the sugar in. As it starts to stick, add more sugar. Some recipes call for x cups of sugar, but depending on humidity, elevation, etc that can vary. So my rule is to keep kneading in sugar until it has the right consistency of fondant. You don’t want it to be too stiff but it shouldn’t stick to the silpat. When you stretch it, it should remain elastic and not break.

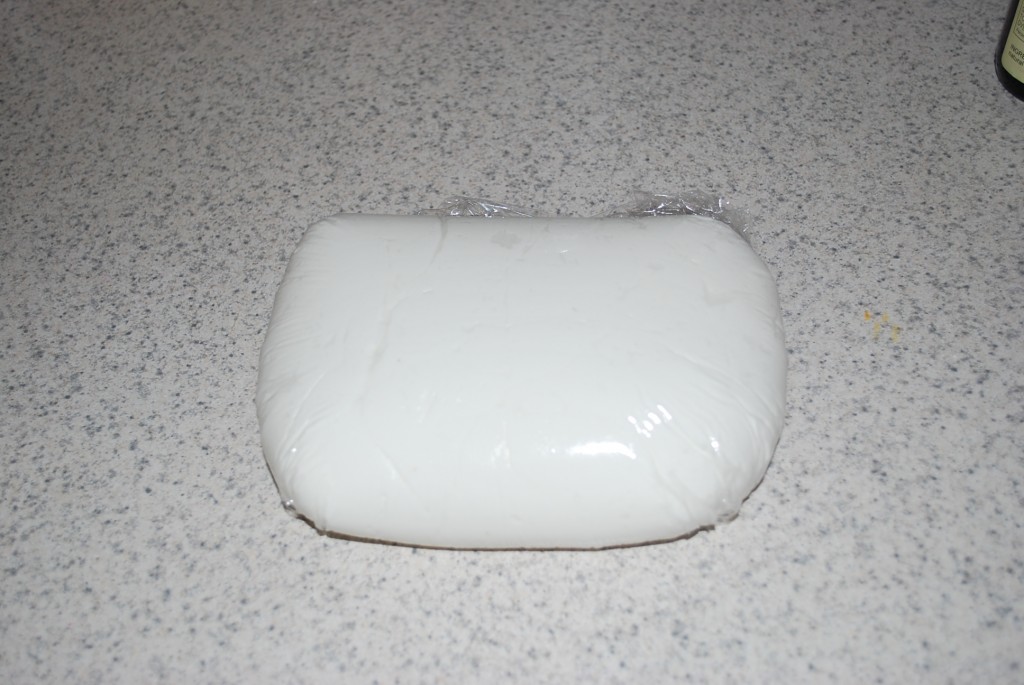
7) Once you are done, cover the fondant with shortening and cover that with plastic wrap and then place in a ziplock bag – try to squeeze out as much air as possible. Let sit over night – this allows the sugar clumps to incorporate. It will keep in the fridge for a few weeks before use!

Ta da! You made fondant! A few things to remember when covering a cake with home-made marshmallow fondant – 1) don’t roll it out too thin – maybe a tiny bit thicker than 1/8”. You’ll be able to see through the fondant to the cake if it gets too thin (this sort of happened to me). 2) If your cake is going to be somewhere with slightly hot temperatures, stick it in the fridge before displaying. This will let the fondant firm up a bit and helps prevent dents in the cake when you move it or touch it. Here is an example of the wedding cake that I covered in fondant this past weekend:


Good Luck!

the competition: community canteen take 2

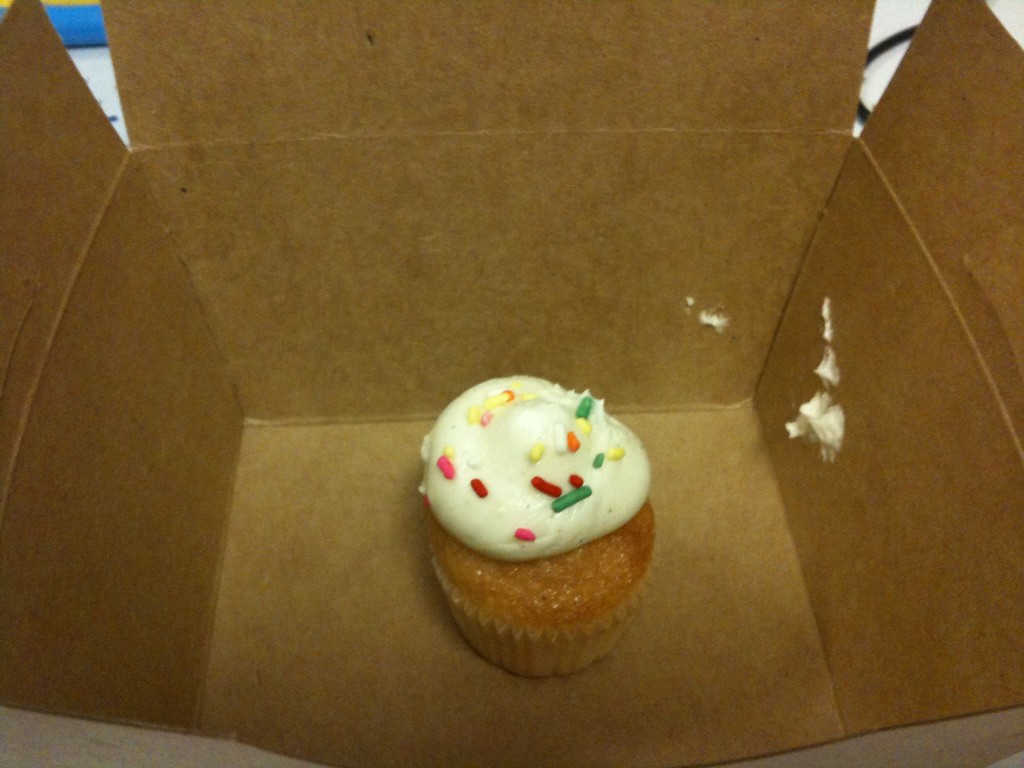
So I decided to give Community Canteen cupcakes another chance… or maybe it’s just because I start Weight Watchers tomorrow. Anyway – I picked a mini vanilla one.

APPEARANCE: They put it in the same box as the standard ones – so being a mini size, the top didn’t get squished. But it did take a little tumble in the box before I got upstairs. I thought it was a cute little cupcake – the rainbow sprinkles were a nice touch.

CAKE: Not too bad. It wasn’t as rich as I was expecting as most home-made cakes are. Given that the other one tasted like box cake, maybe this one was too. I’m only about 40% sure this time though.

FROSTING:Really really good! It was similar to the chocolate buttercream in that it was truly a real buttercream. Very light. Not over sweet and had that airy vanilla bean taste! Or at least I thought those were vanilla beans…

OVERALL:  Not bad for a sweet little snack. MUCH tastier than the chocolate. In fact I got a mini one so that if I didn’t like it – I wouldn’t feel guilty wasting much of it. (ok ok maybe it was because I got a peanut butter cookie too).

I give the Community Canteen Vanilla Cupcake:

Two and a half cakes! Not bad – there are a few other places I’d go for a cupcake before going here, but if I were craving a cupcake at work I’d buy it again! But only because they are across the breeze way.

i love this cake!

from Style Me Pretty

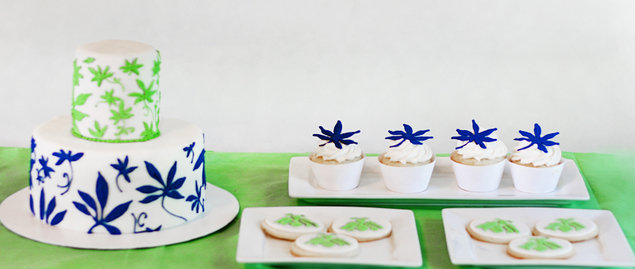
blue and green cake

Here’s a pretty spread over at PW! It would be lovely for a small wedding or gathering. Enjoy!

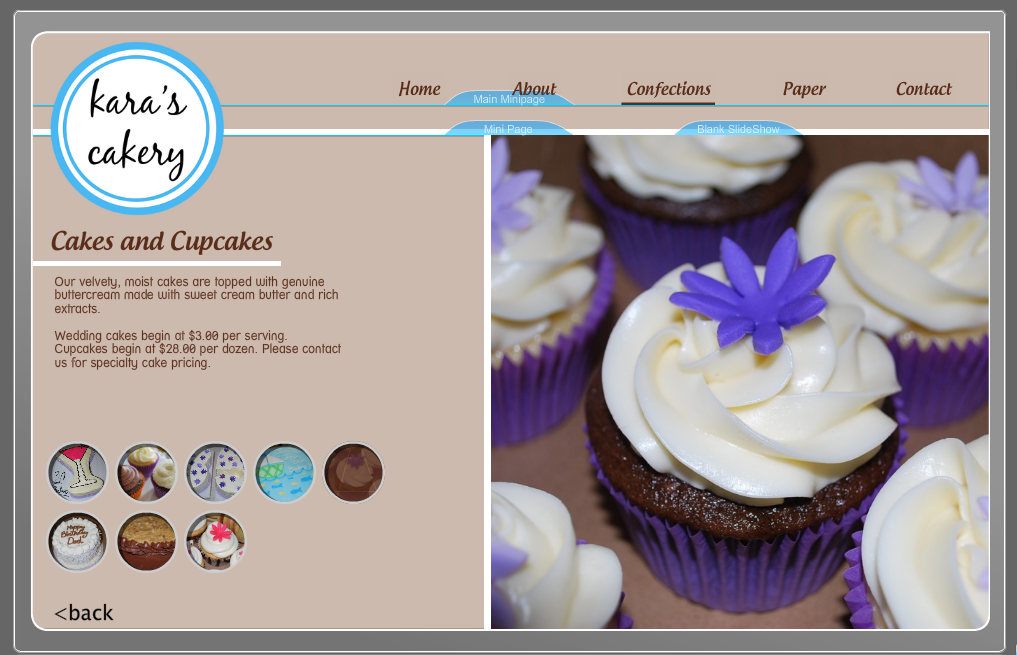
sneak peek at the new website…

I am so excited to give you a sneak peek at the new website. Half way through updating, I completely changed my mind and decided to create a Flash site (hence the reason it is taking forever to get my updated site up and running!) The new site will feature slide show photos as well as galleries and lots of information. I really hope to have it up by the end of the month. Enjoy!


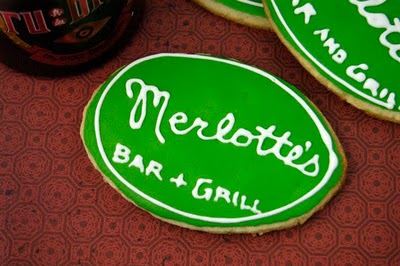
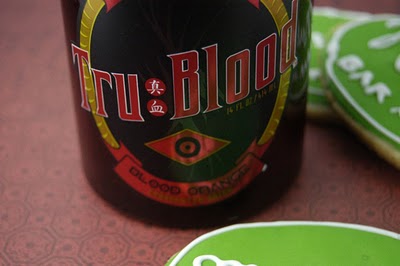
true blood cookies

I look at a bajillion different baking blogs daily and every so often I come across one that I have to bookmark and add to my blogroll list. The latest one I’ve added is Three Baking Sheets to the Wind. First of all, Ali’s extremely creative. Secondly, she’s hilarious. And lastly, I think she’s somewhere around me (DC area). I wanted to highlight one of her latest blog post and it’s about making True Blood themed cookies! I’m sorry if you haven’t seen it or if it offends you. True Blood is like Twilight for grown ups – I know some more mature ladies like Edward, but they really need to grow up because Bill is 100 times hotter. Anyway, in celebration of the season premiere on Sunday, Ali decided to make some True Blood decorated cookies.

How nifty is that! They look delicious! You can see the full tutorial here. I have to agree with Ali, a cookie would go great with a bottle of True Blood!

Happy Friday!

the competition: community canteen


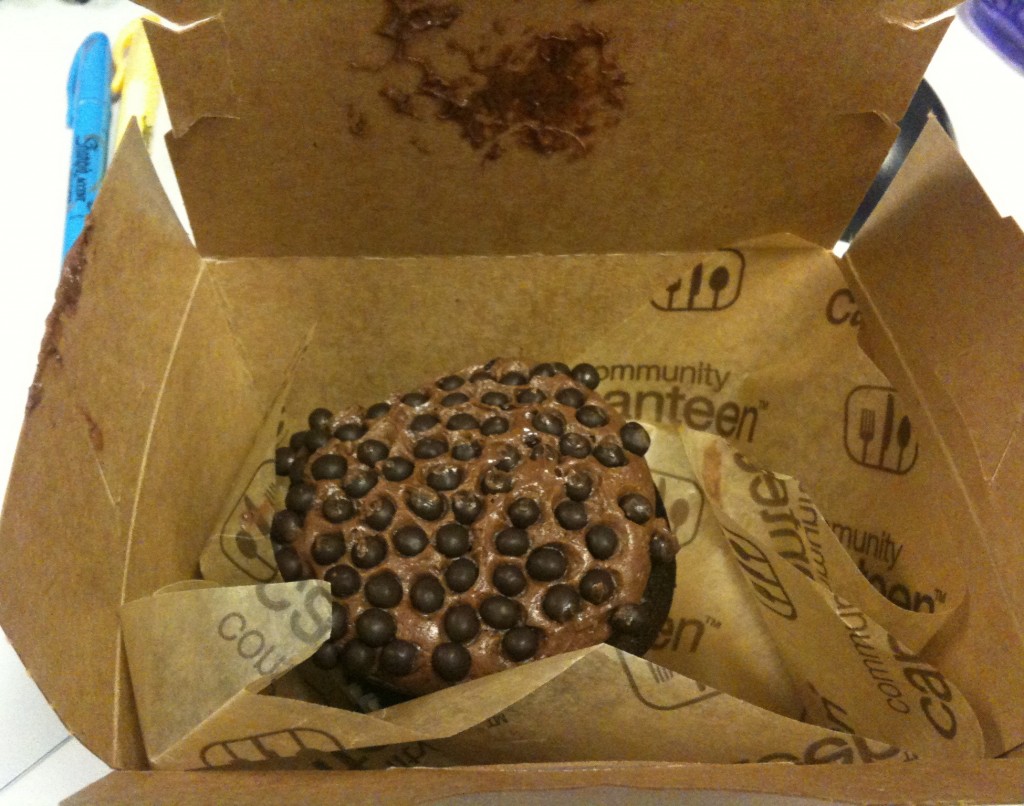
This first addition of The Competition comes to us from the Community Canteen. Today I chose a chocolate cupcake. Here is what I thought:

APPEARANCE: Well it was cute sitting on the plate, but I suppose they didn’t have a box tall enough so this is what it looked like once I got it upstairs and to my desk. I liked the use of the chocolate candy pieces on top. It certainly looked tasty and I was pretty convinced it would satisfy my chocolate craving!

CAKE: I have to admit I was a little disappointed – the cake tasted like box cake mix. In fact I’m 90% sure it was… whomp whomp.

FROSTING:I was expecting a fudgy frosting but this wasn’t fudgy at all. Instead it was a very light cocoa buttercream. Tasty, but not my idea of chocolate buttercream. It tasted like they used real butter, so I will give them credit for that!

OVERALL: Not a bad cupcake. Maybe the pastry chef is on vacation. I’ve had their brownies and cookies and they are certainly made from scratch and incredibly rich. But if I wanted a box mix cupcake, I would have gone to a bake sale instead!

I give the Community Canteen Chocolate Cupcake:

Two cakes! It wasn’t terrible, I was just expecting a little more! I do have to add that the cupcake was only $1.75. I’d say I got what I paid for.